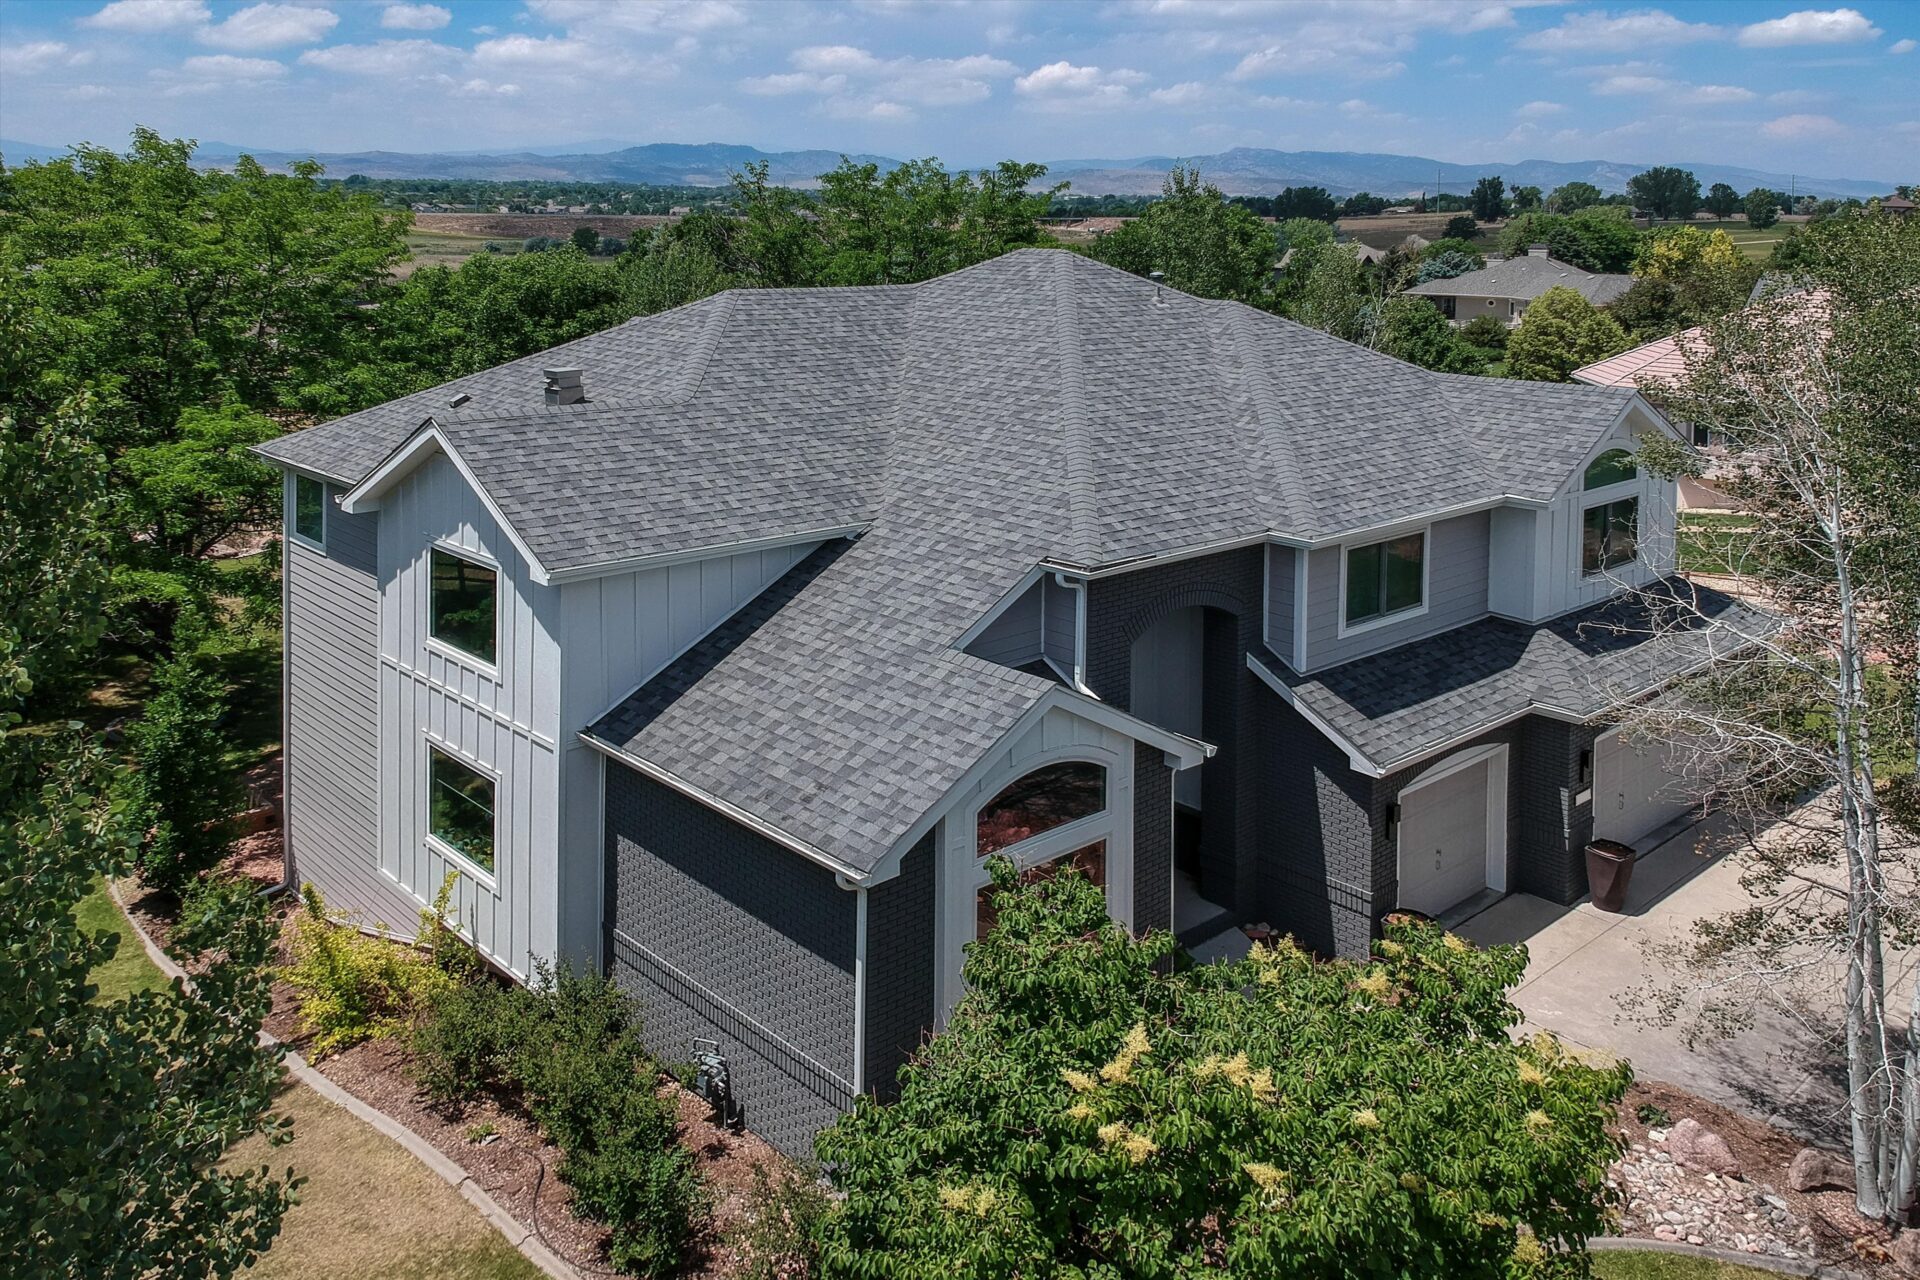
Greenwood Village · Siding
Siding Contractors in Greenwood Village, CO
Mixed-material elevations done properly — fiber cement, engineered wood, stone veneer and metal, plus an honest assessment of whether your stucco needs repair or removal.
Who are the siding contractors in Greenwood Village, CO?
Northern Lights Exteriors is a licensed Class C general contractor installing fiber cement, LP SmartSide engineered wood, stone veneer and metal siding, and assessing stucco, throughout Greenwood Village, Cherry Creek Village and the south metro.
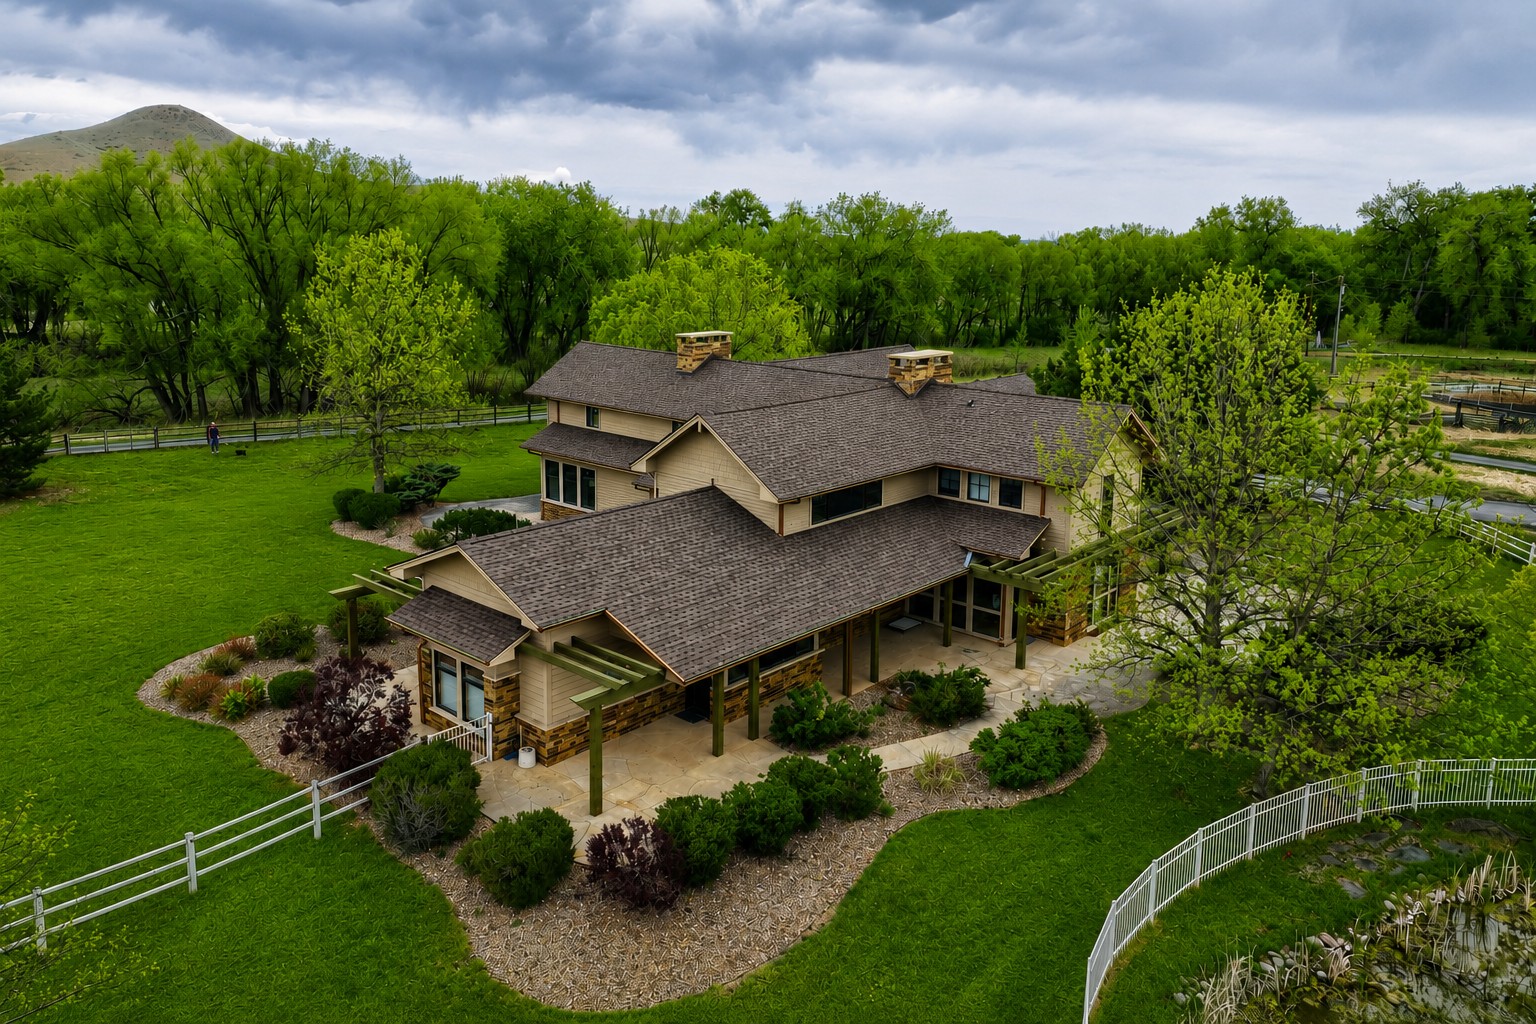
Custom homes here are almost never clad in one material, so the job is getting the combination right — a stone base, a lap field, board-and-batten in the gables — and getting the transitions between them flashed correctly. We tear off to the sheathing rather than cladding over, and we walk the shaded elevations first, because under this city’s tree canopy that is where the real condition is.
Custom Elevations Are Mixed-Material — Plan Them That Way
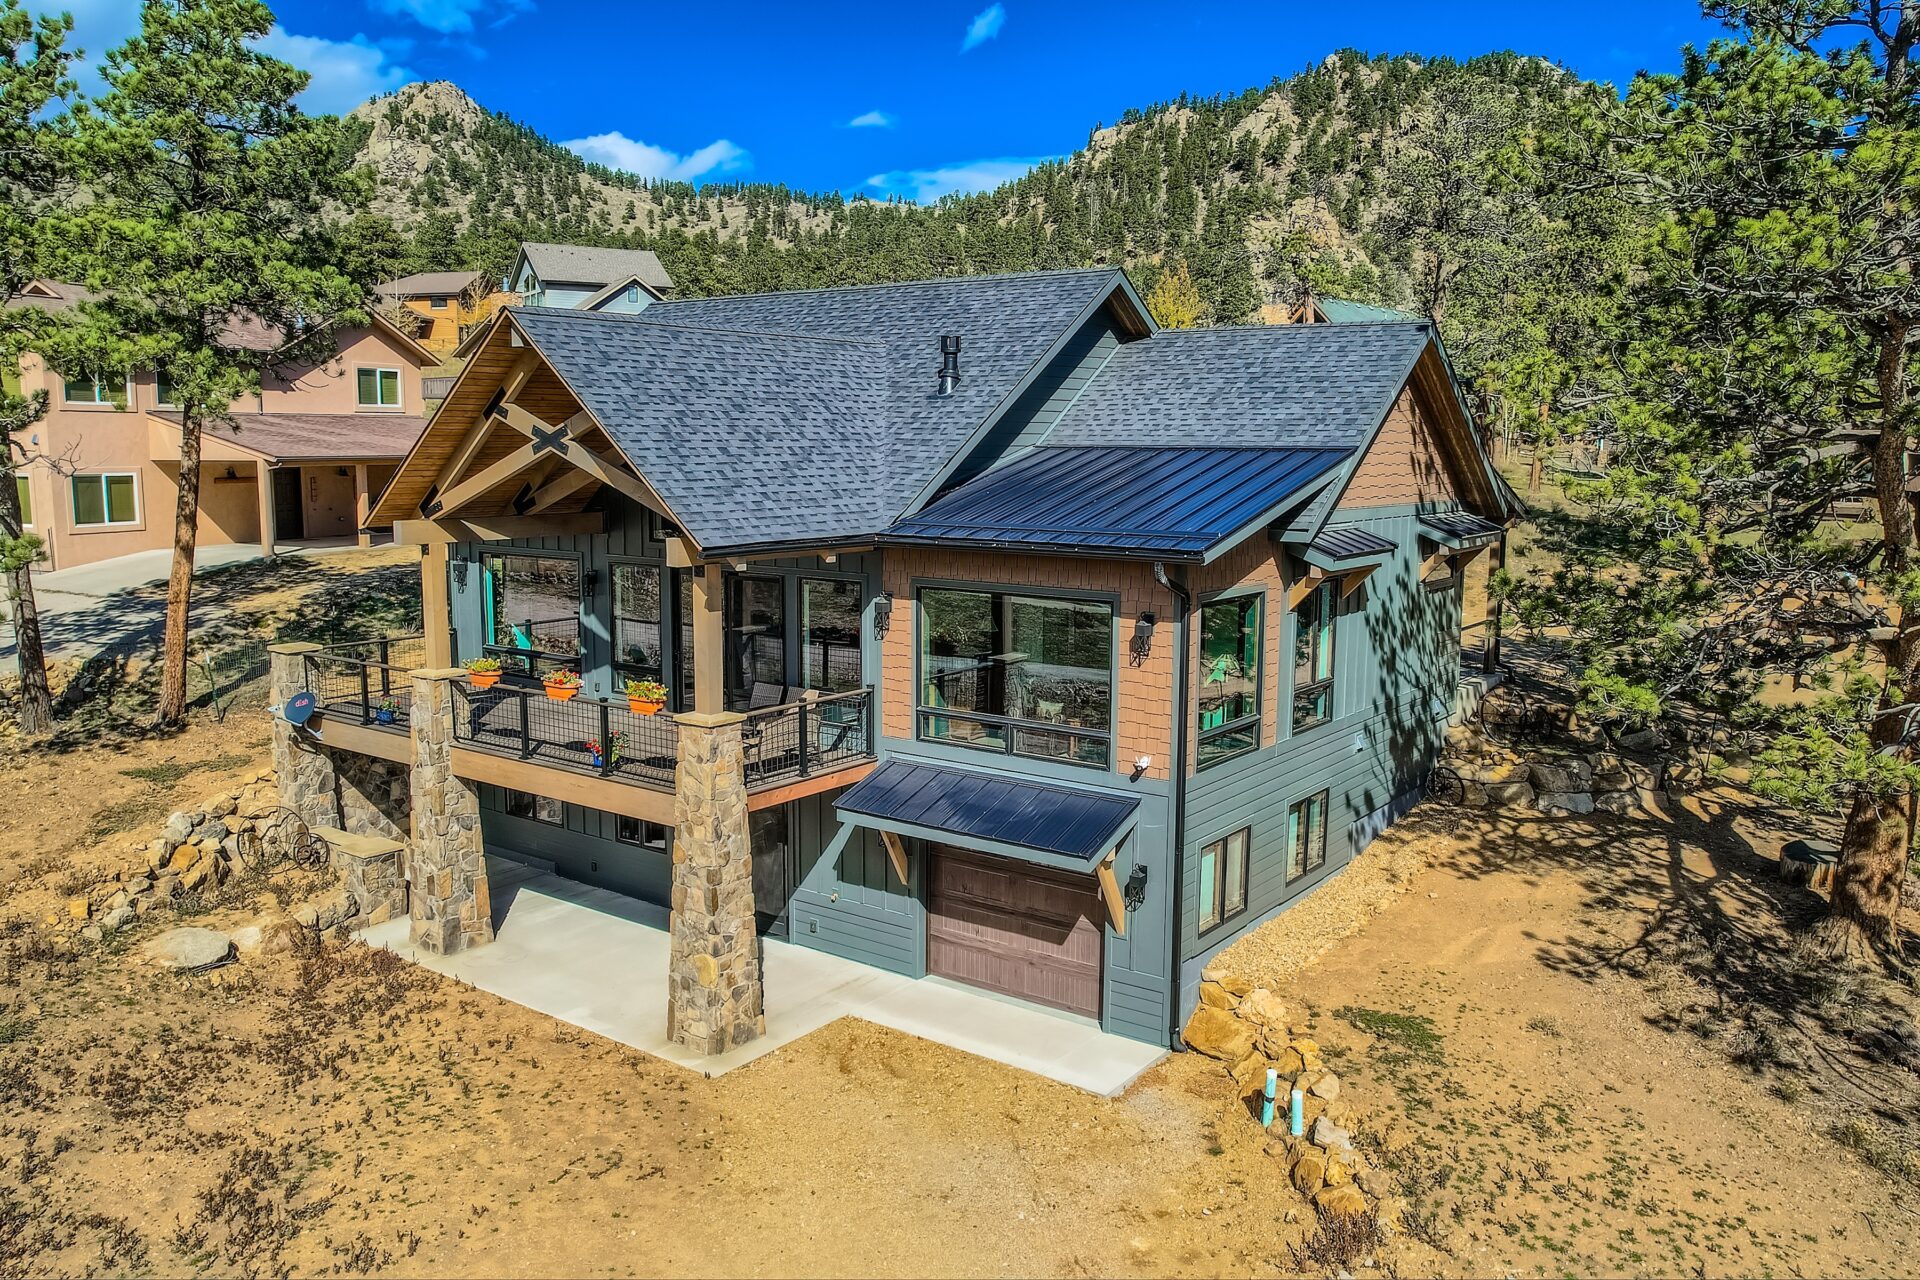
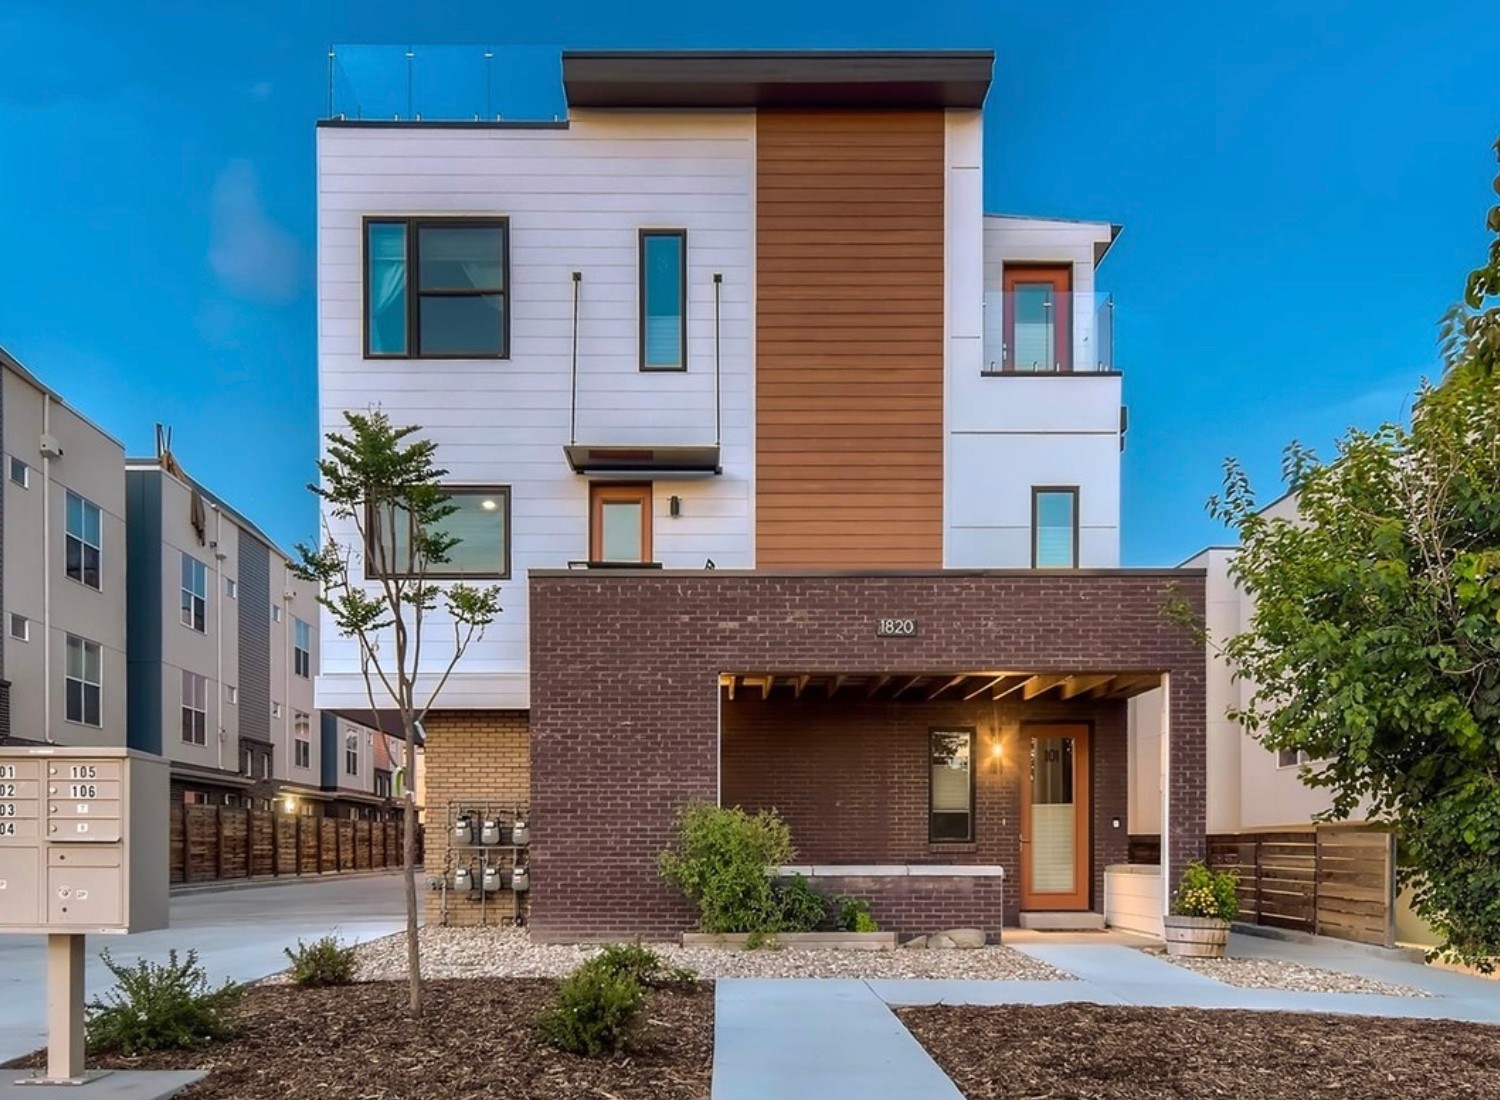
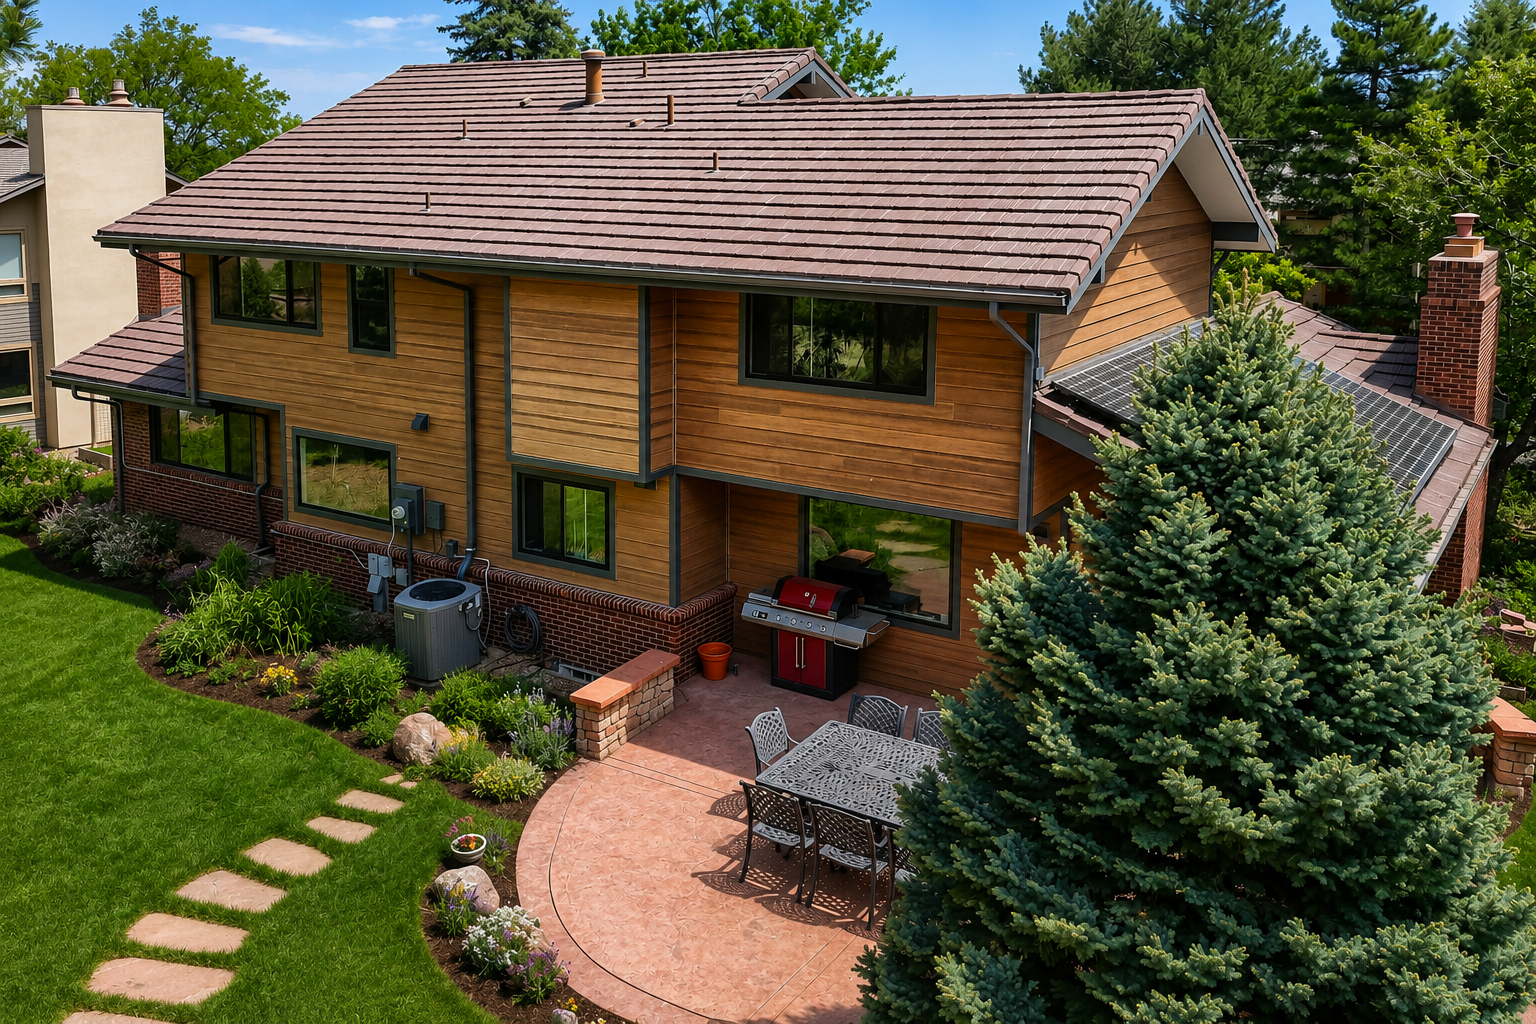
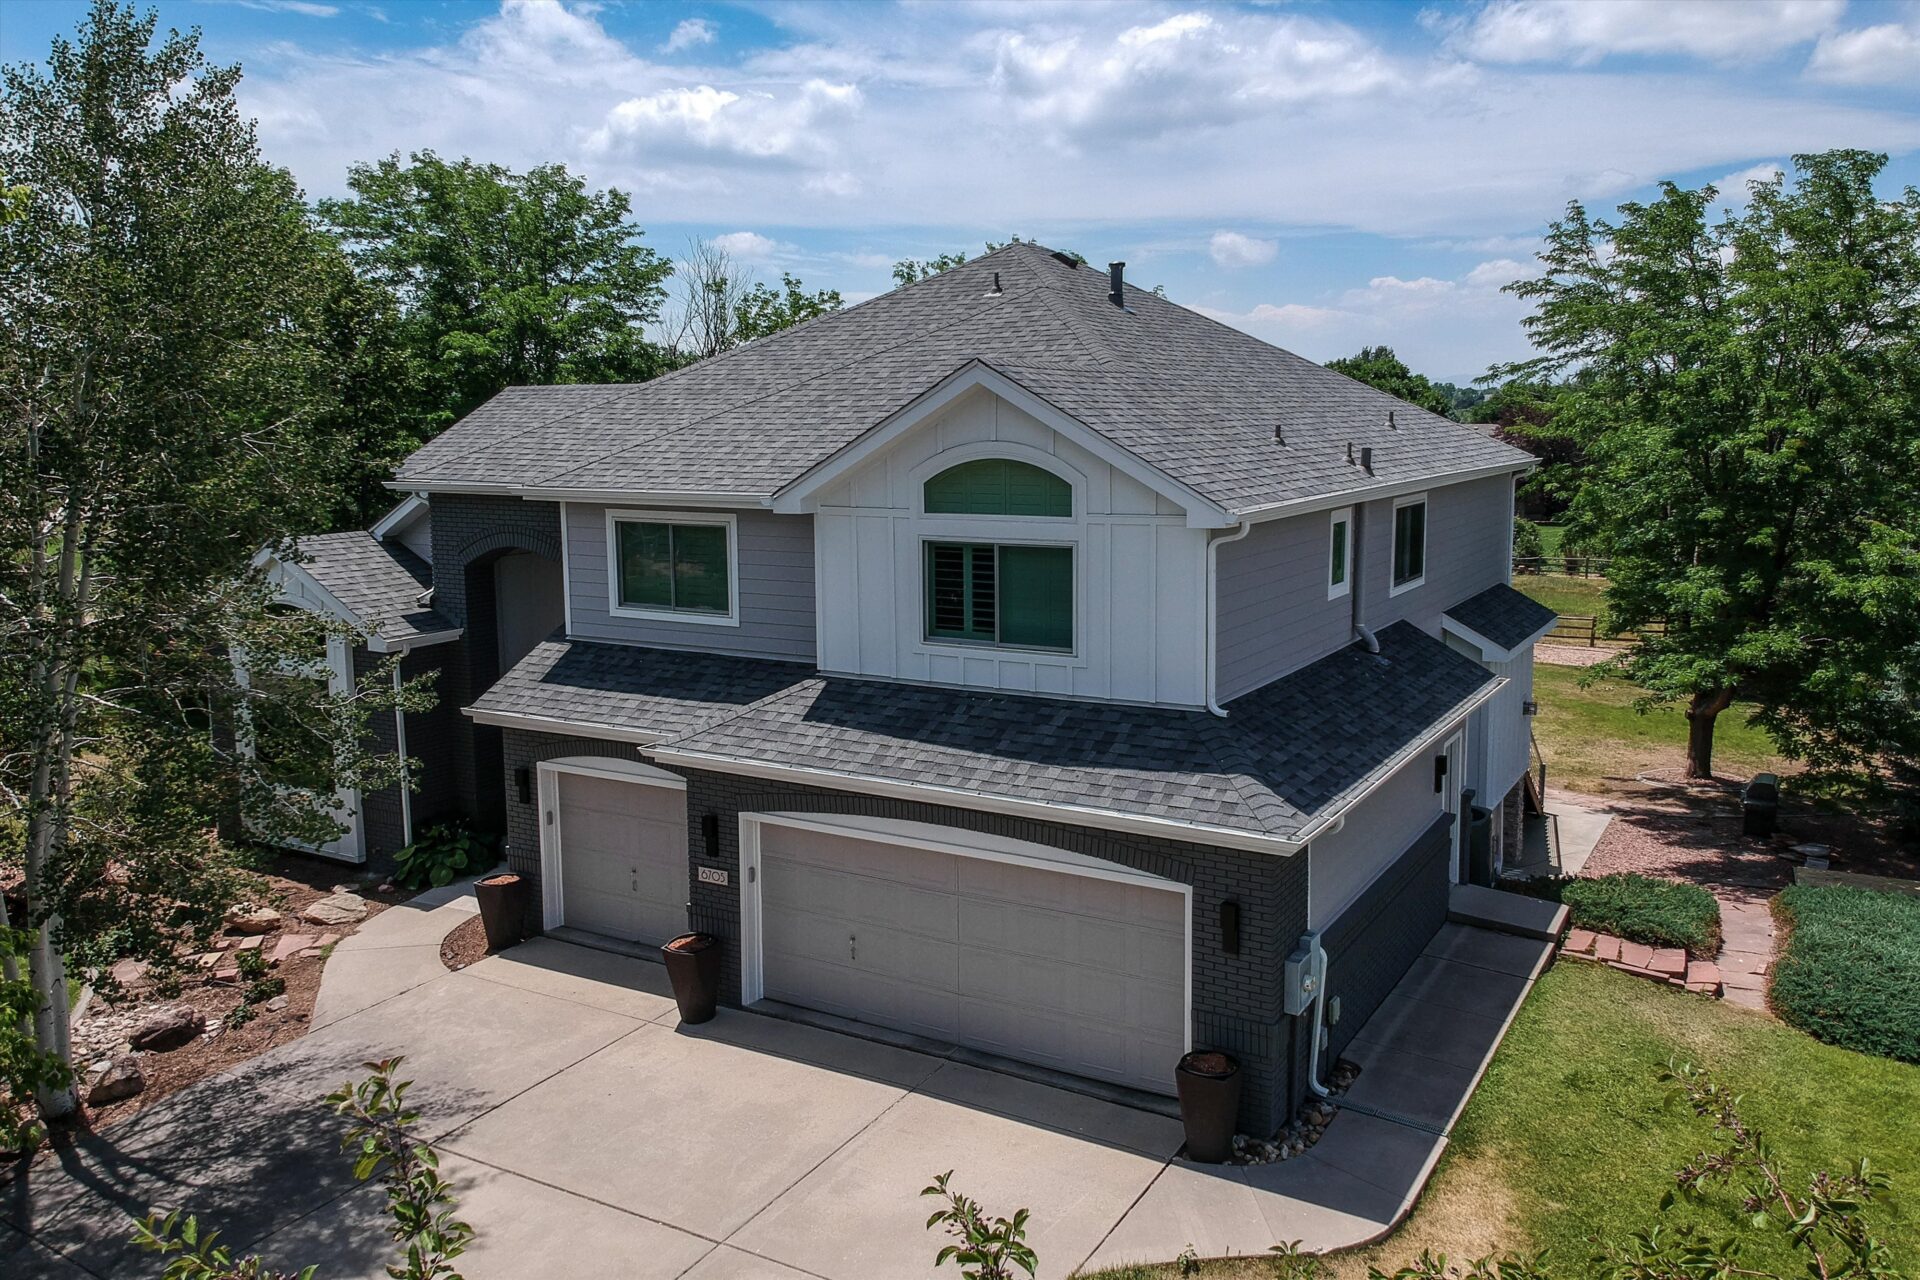
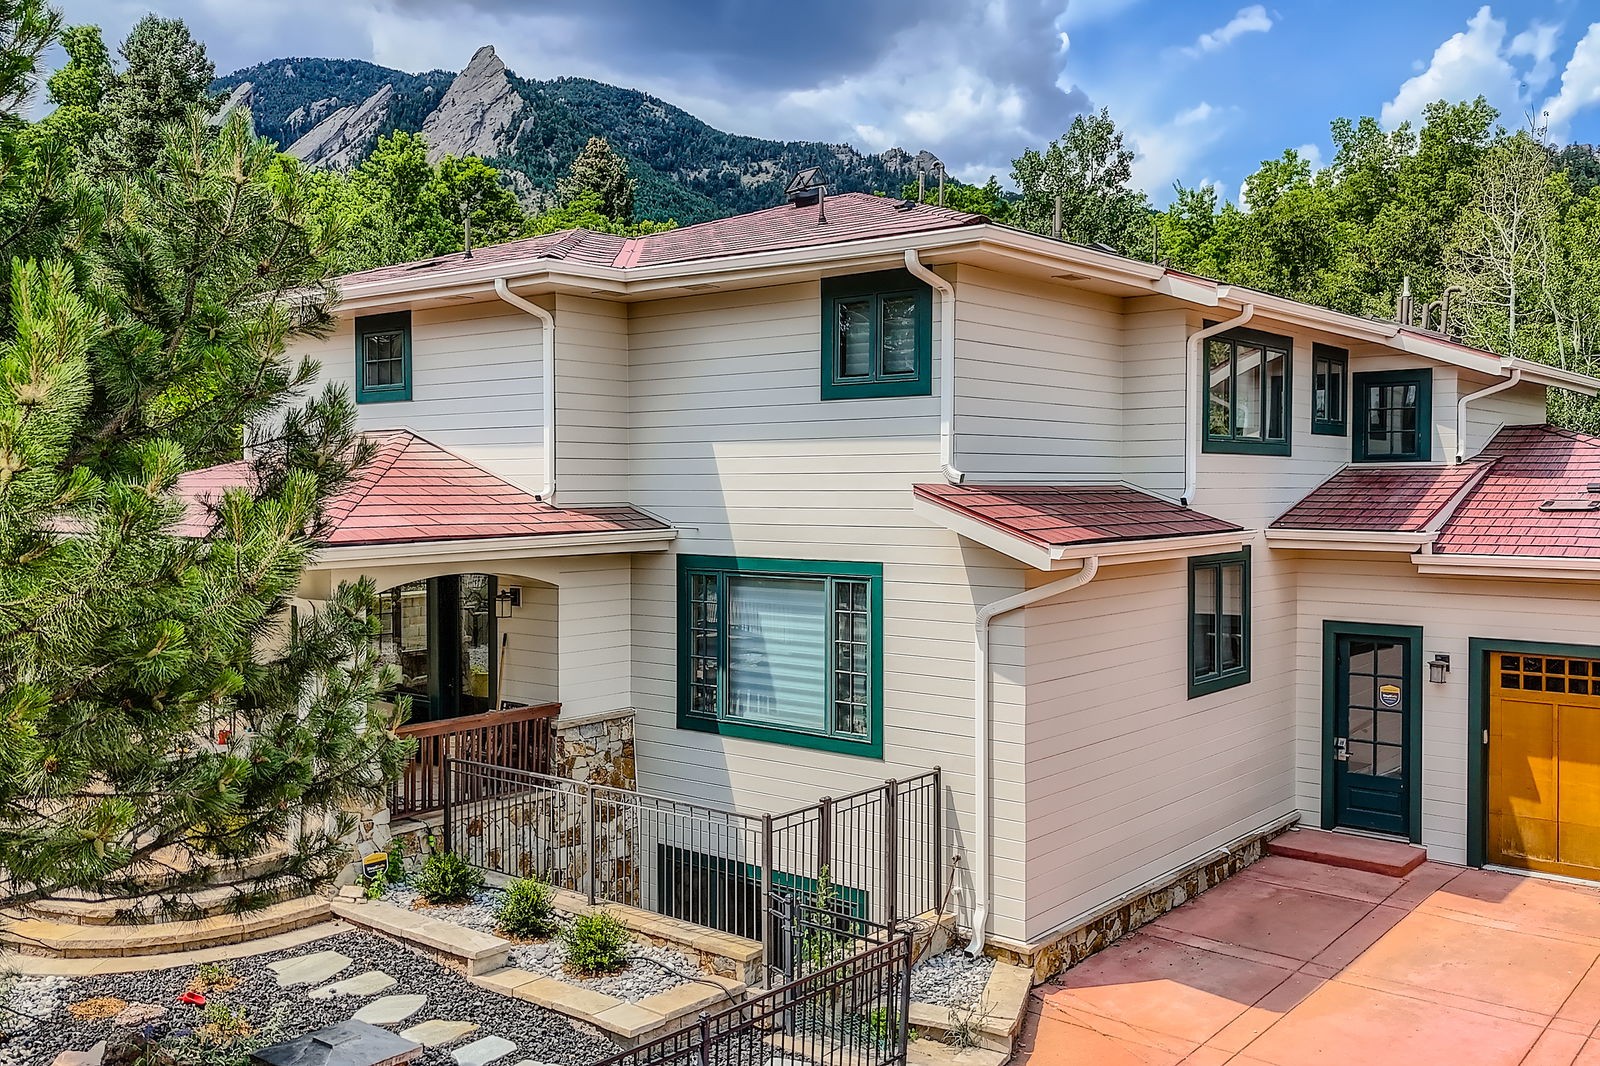
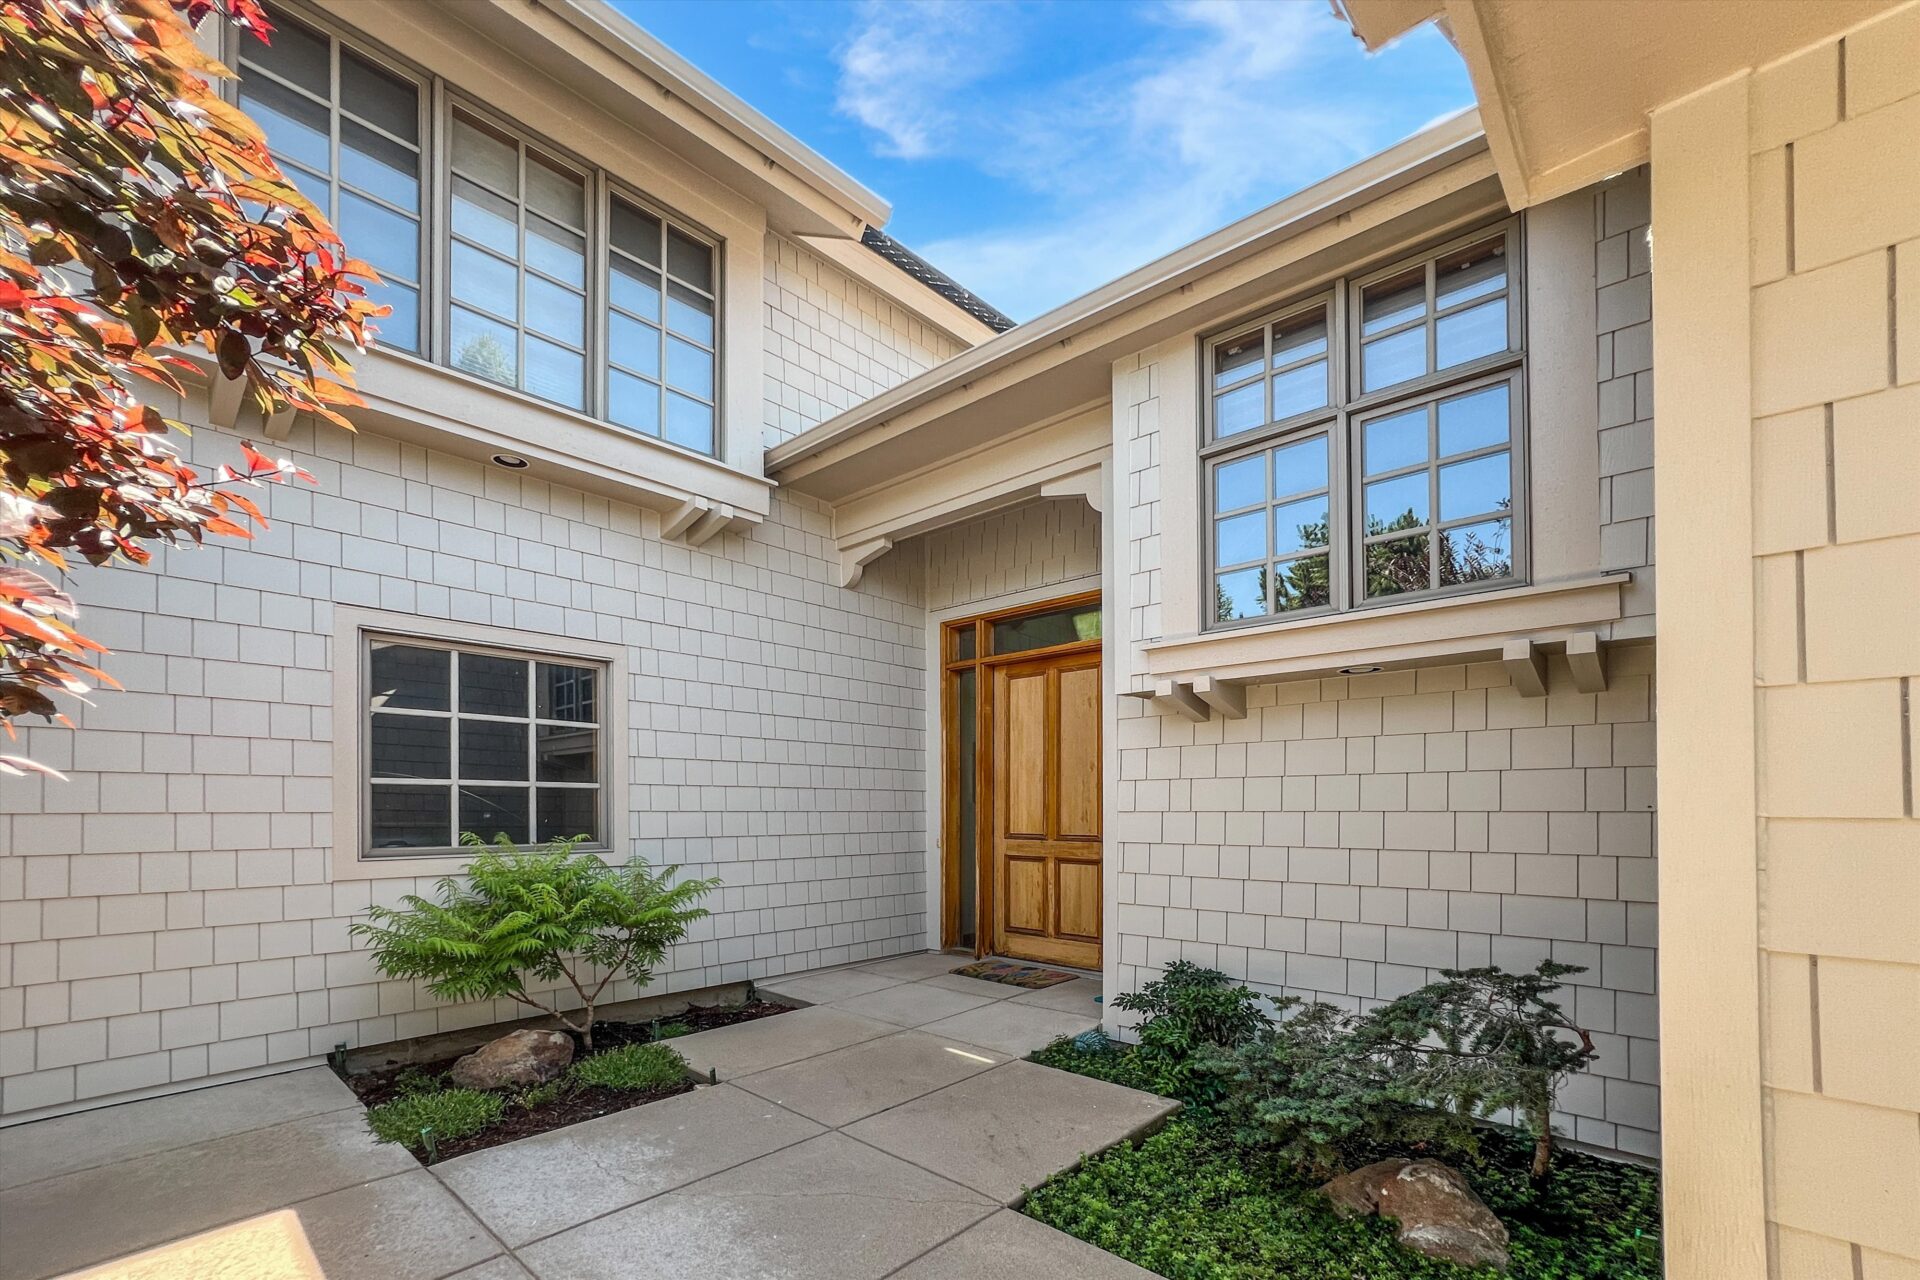
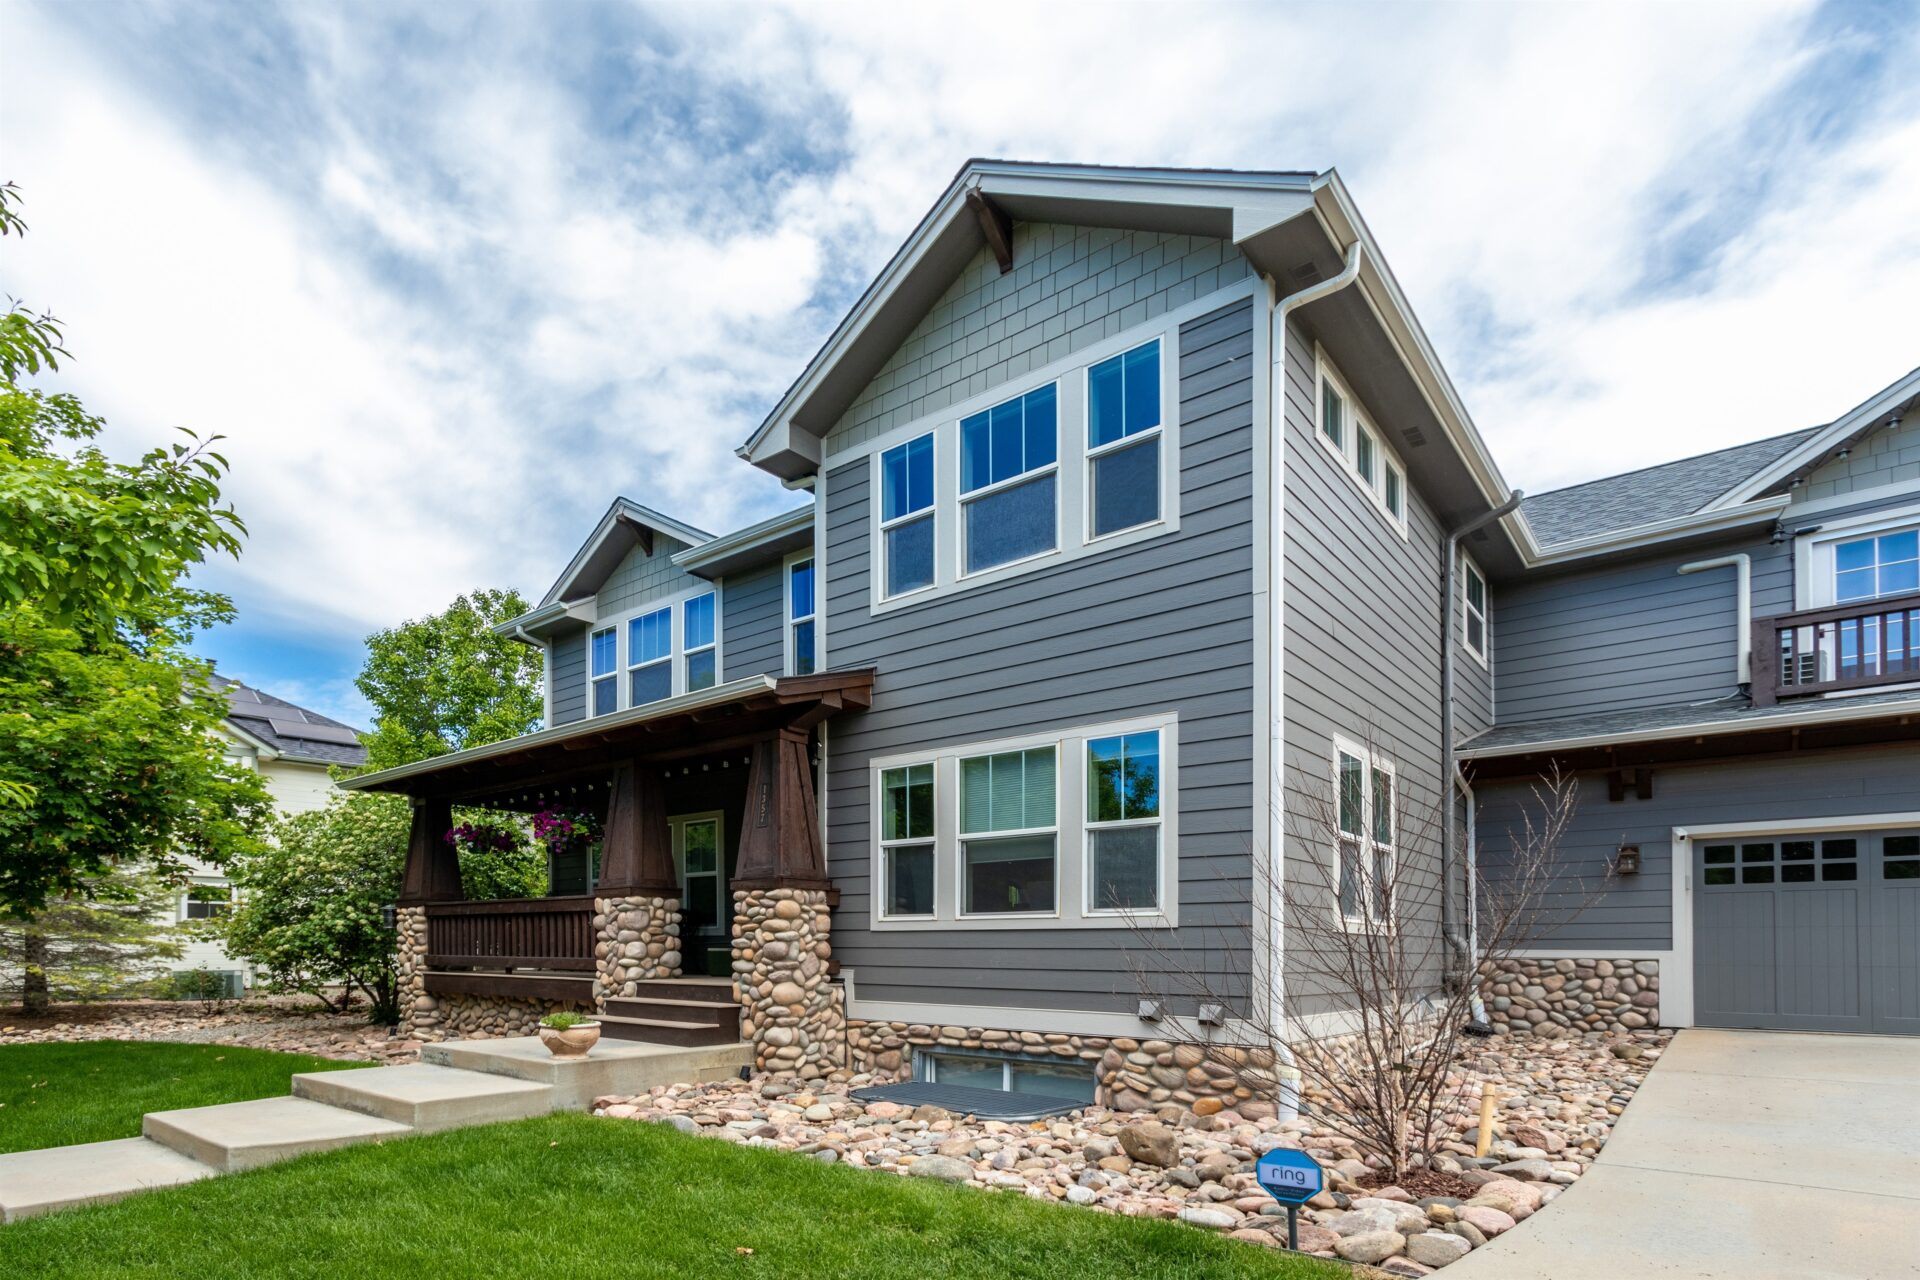
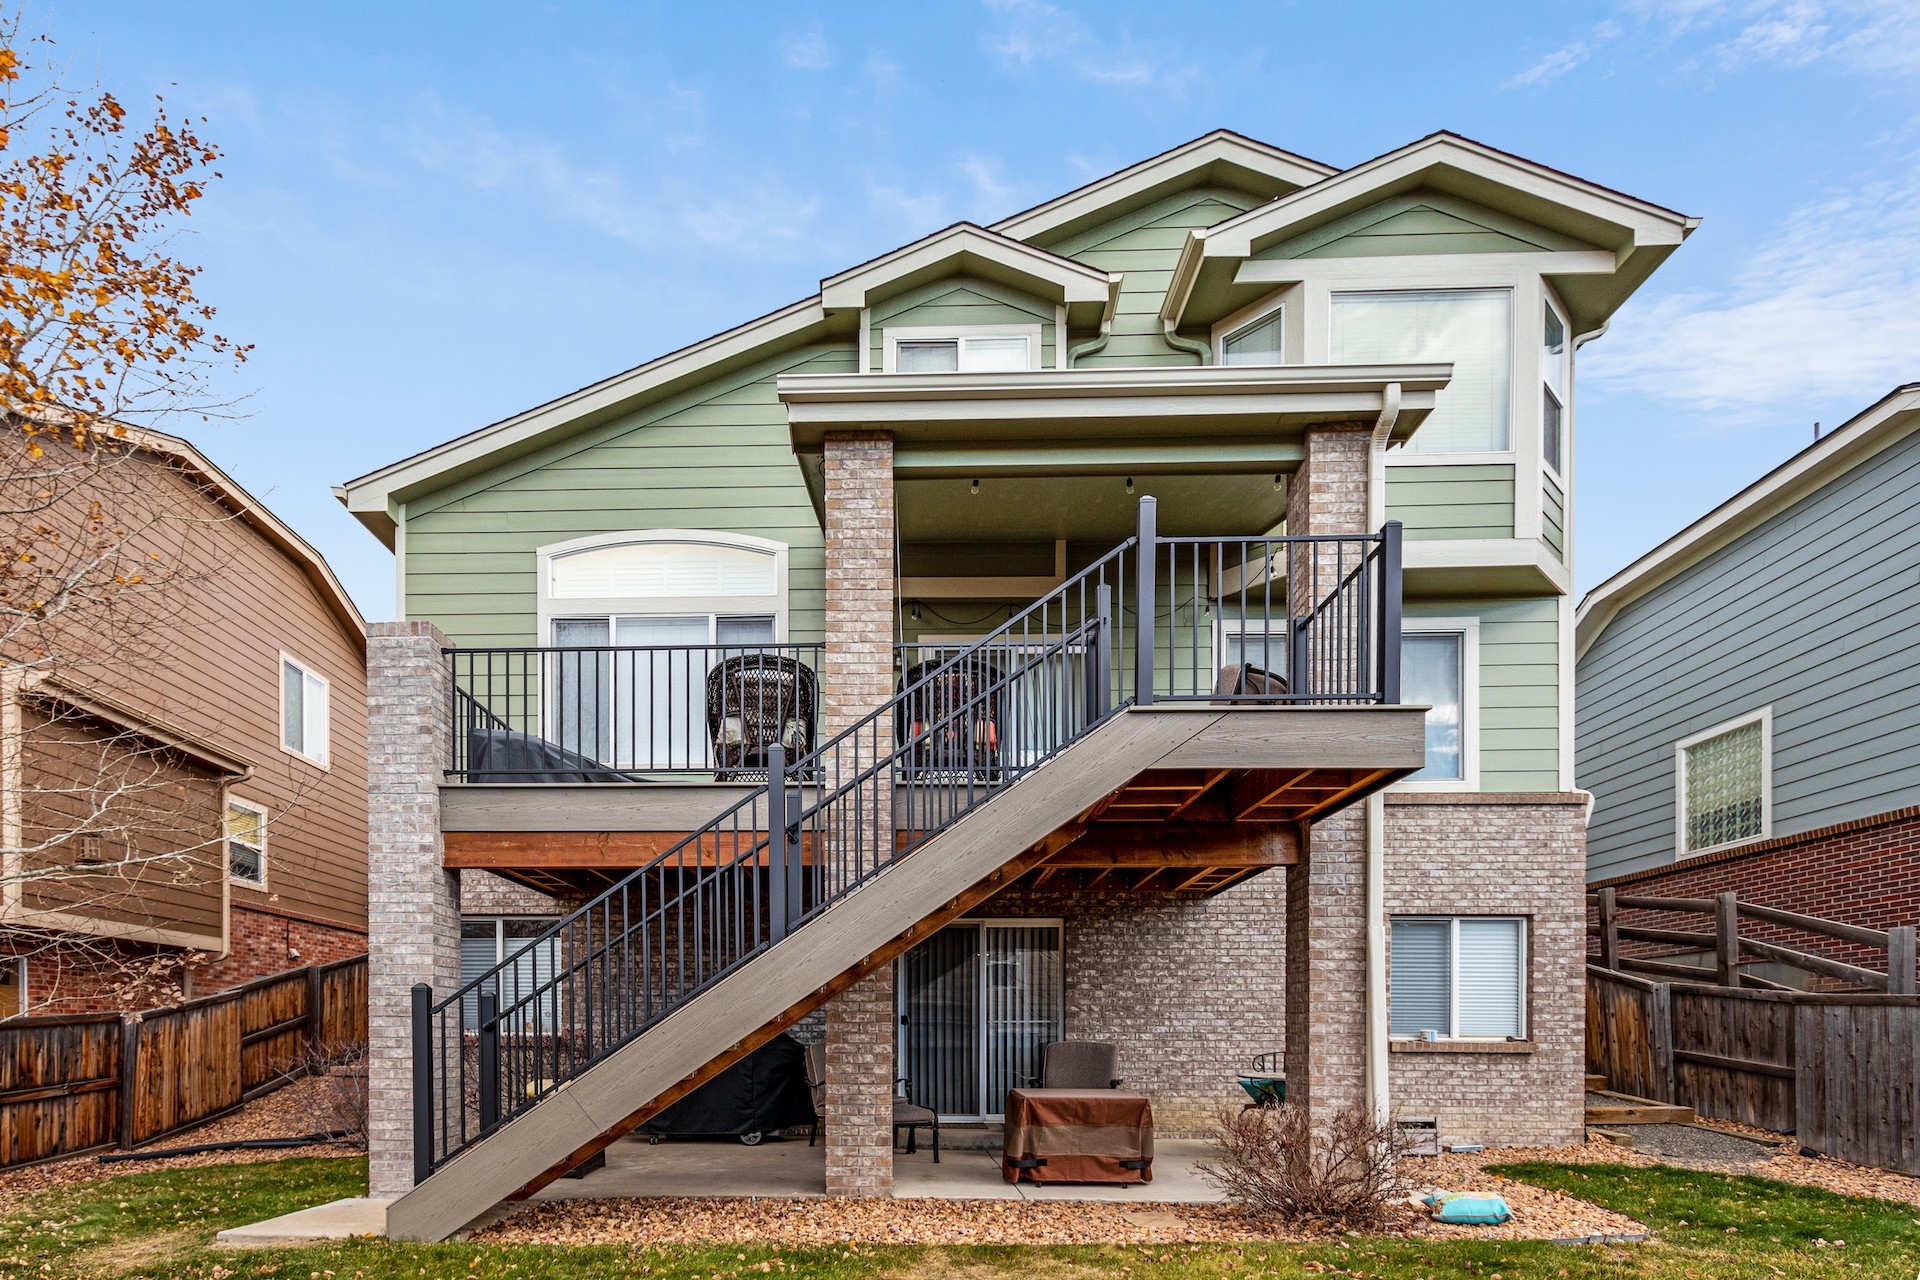
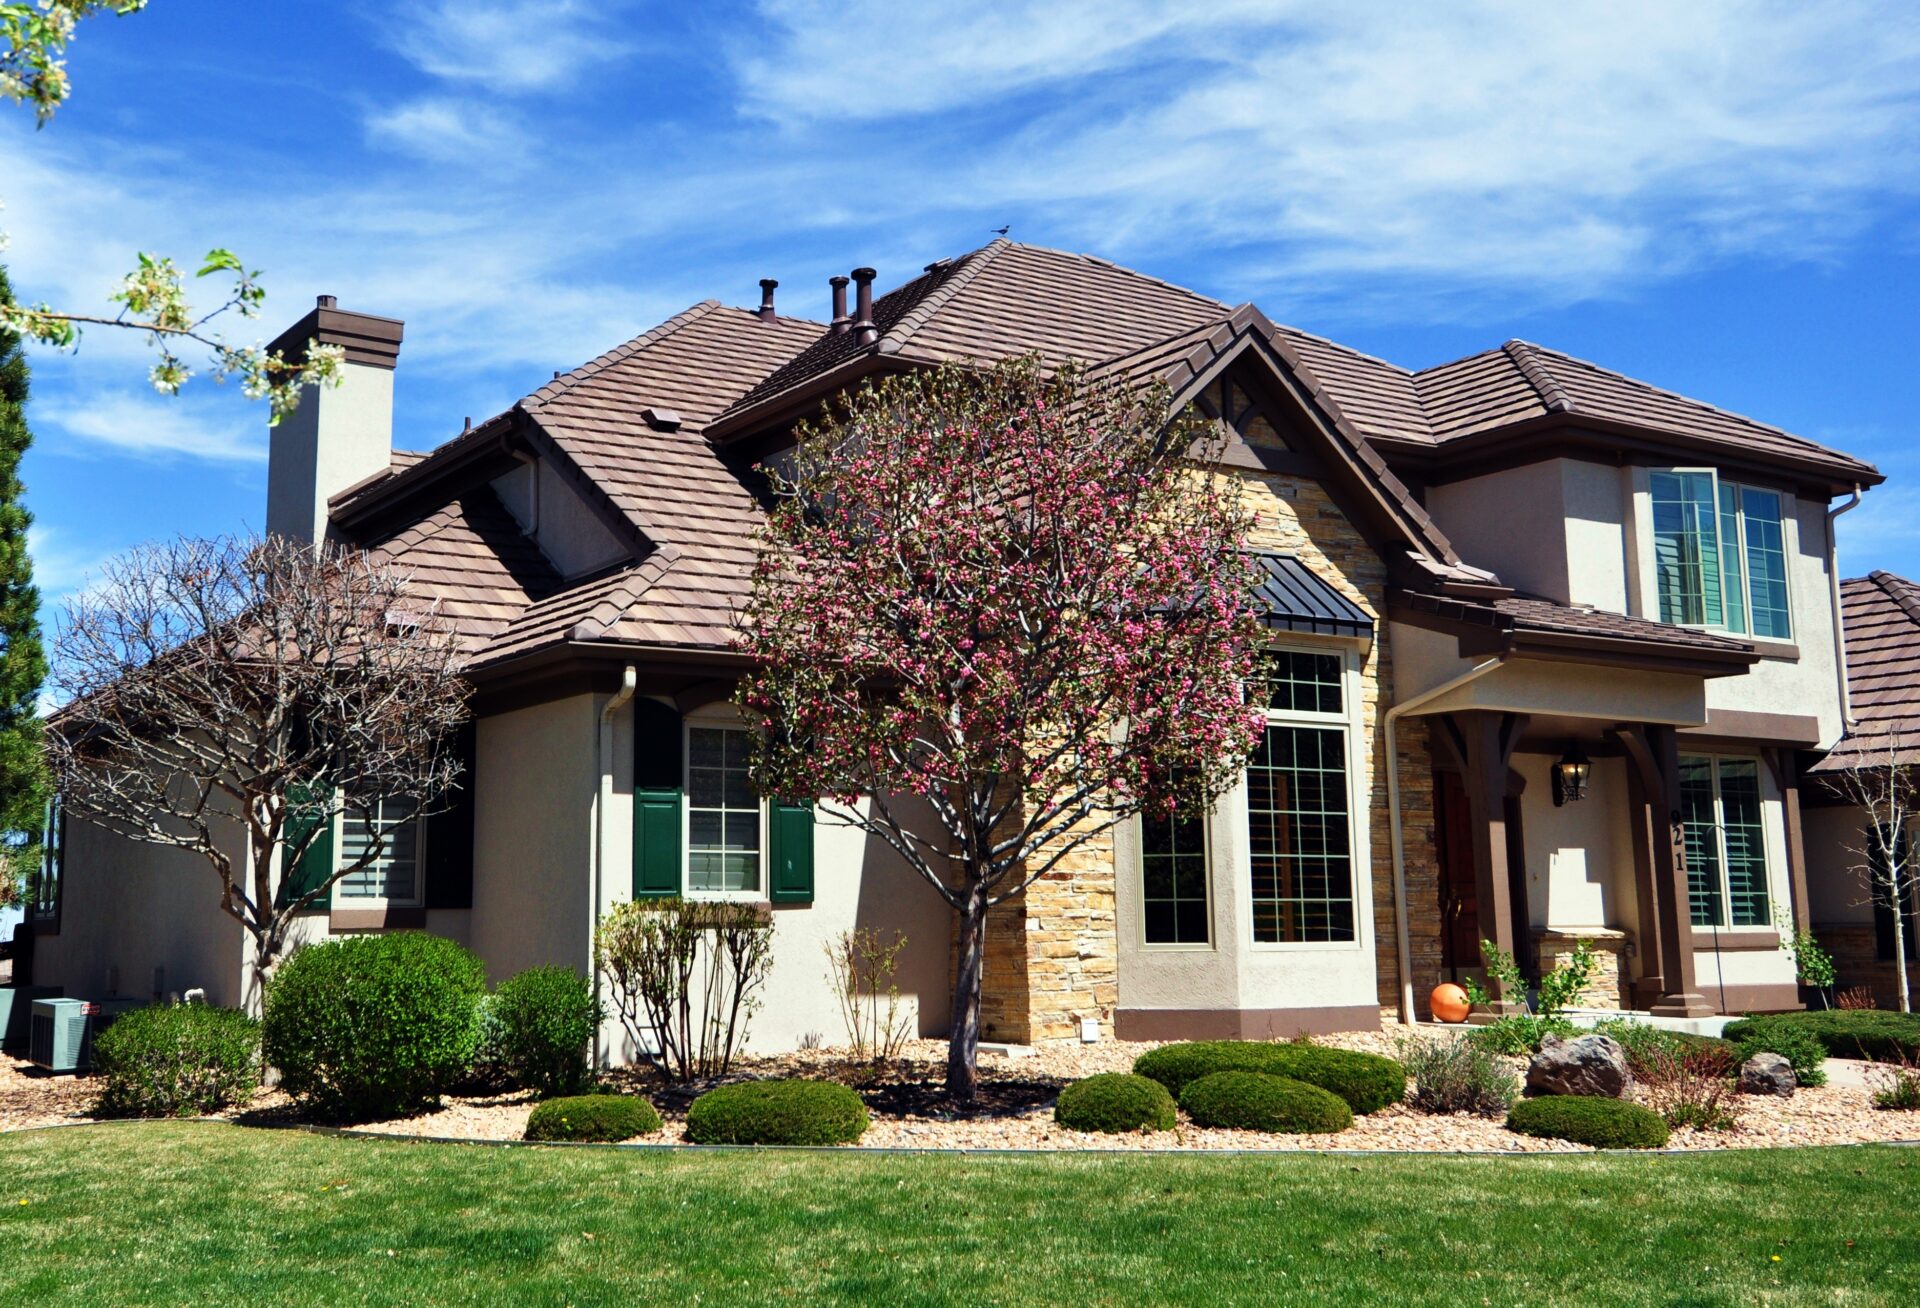
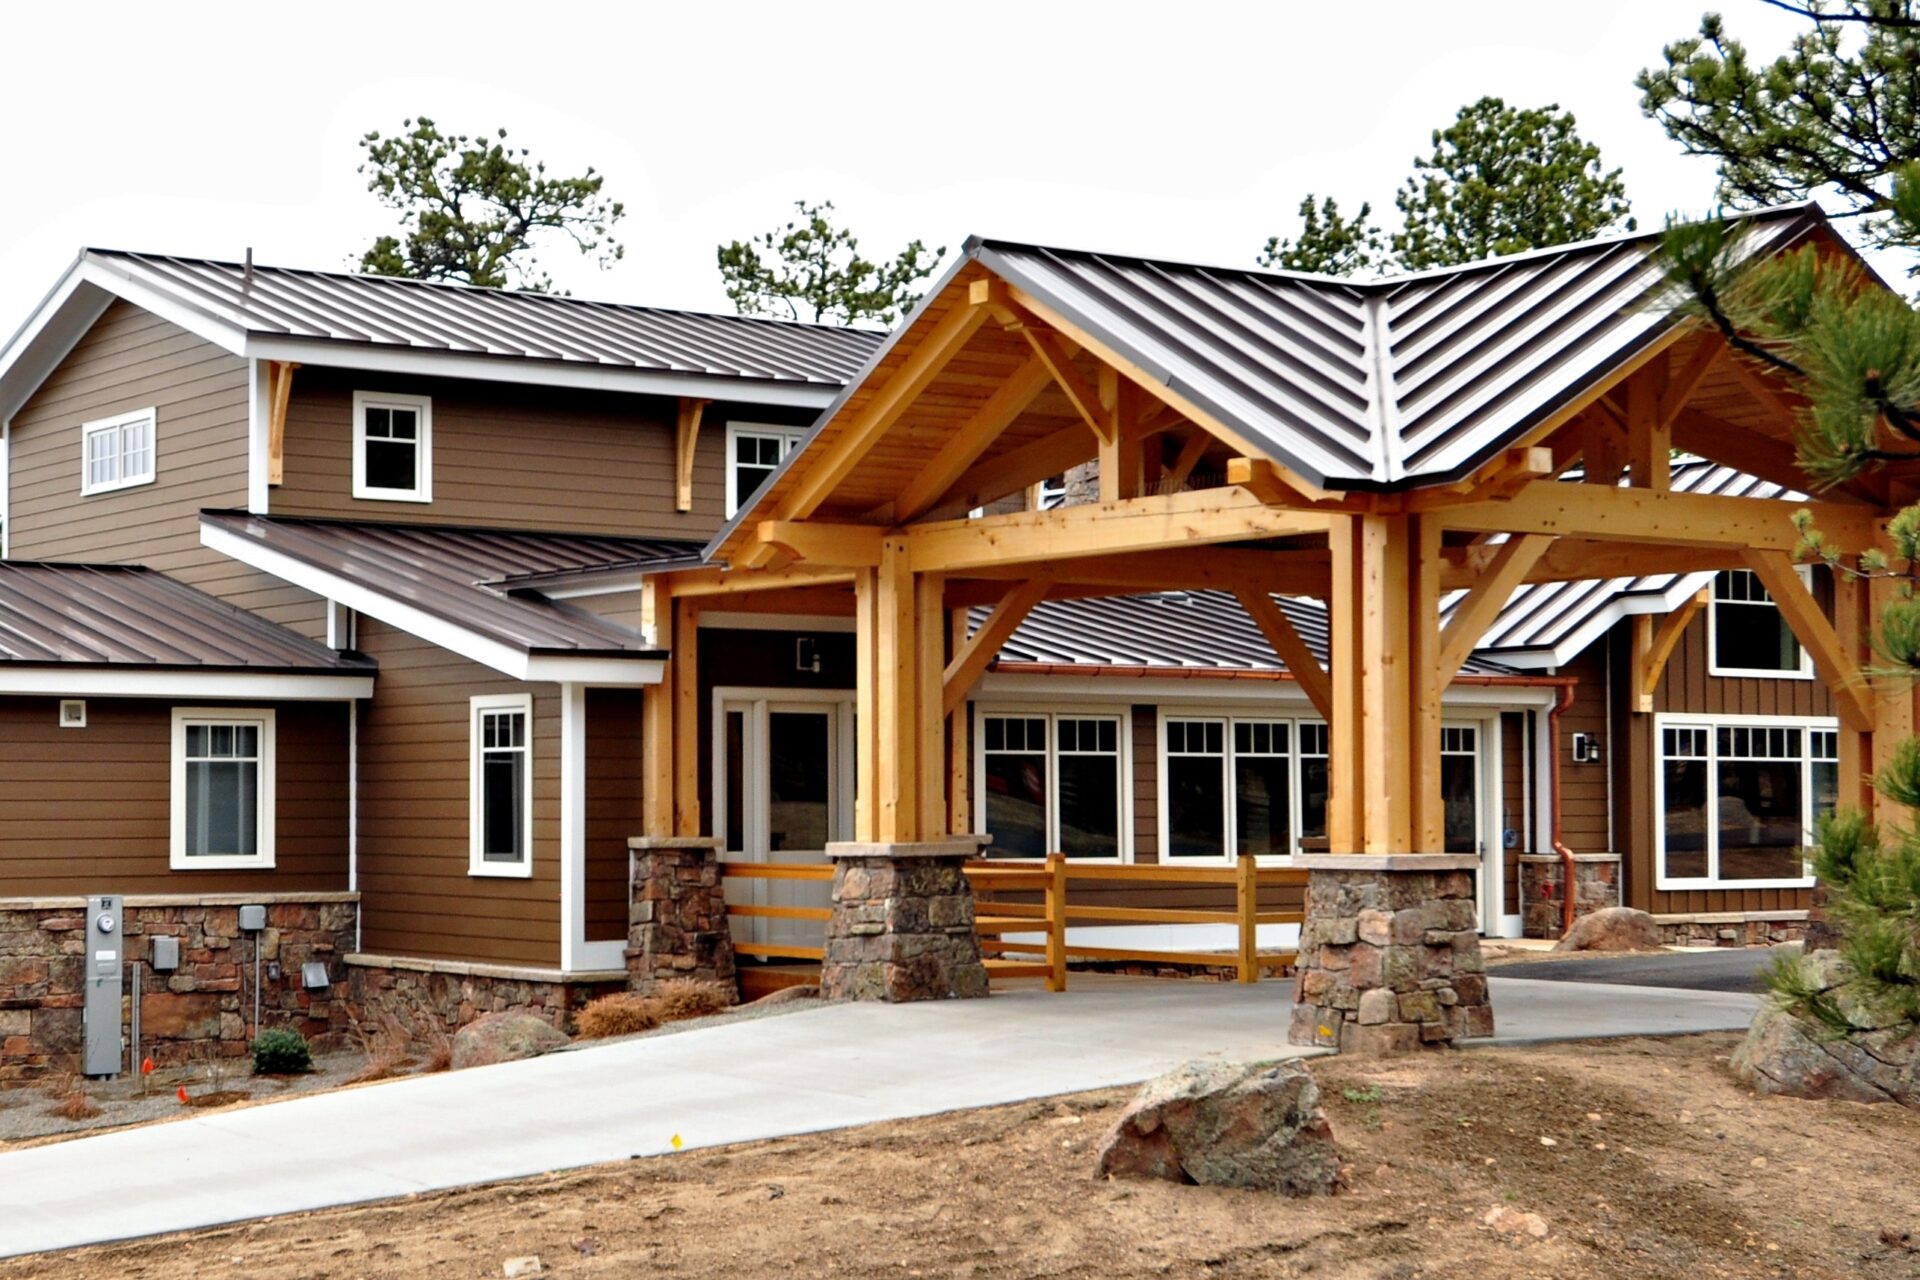
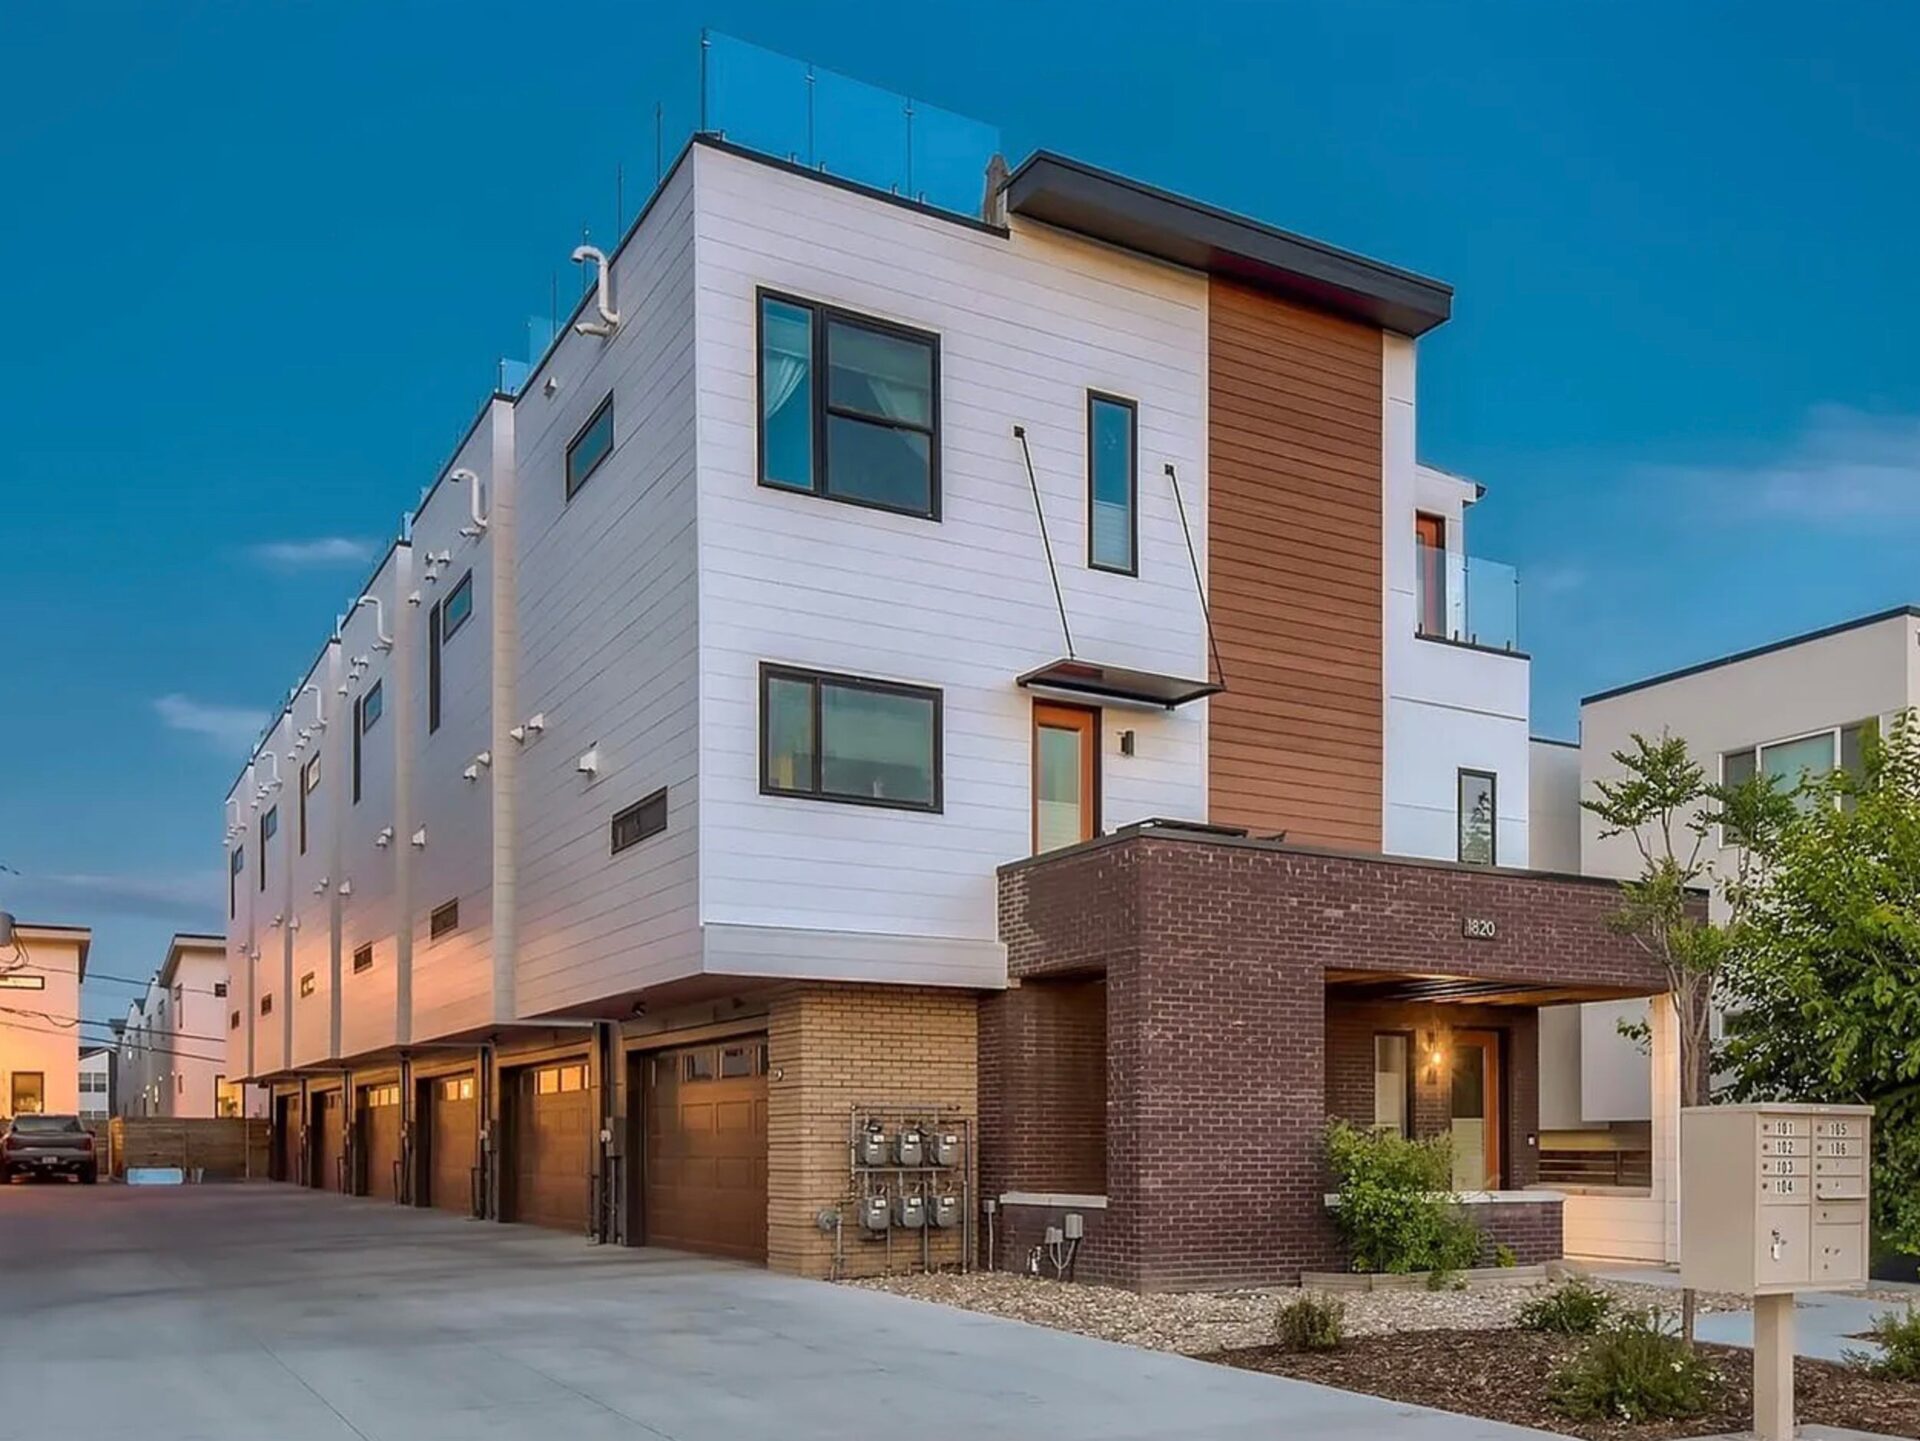
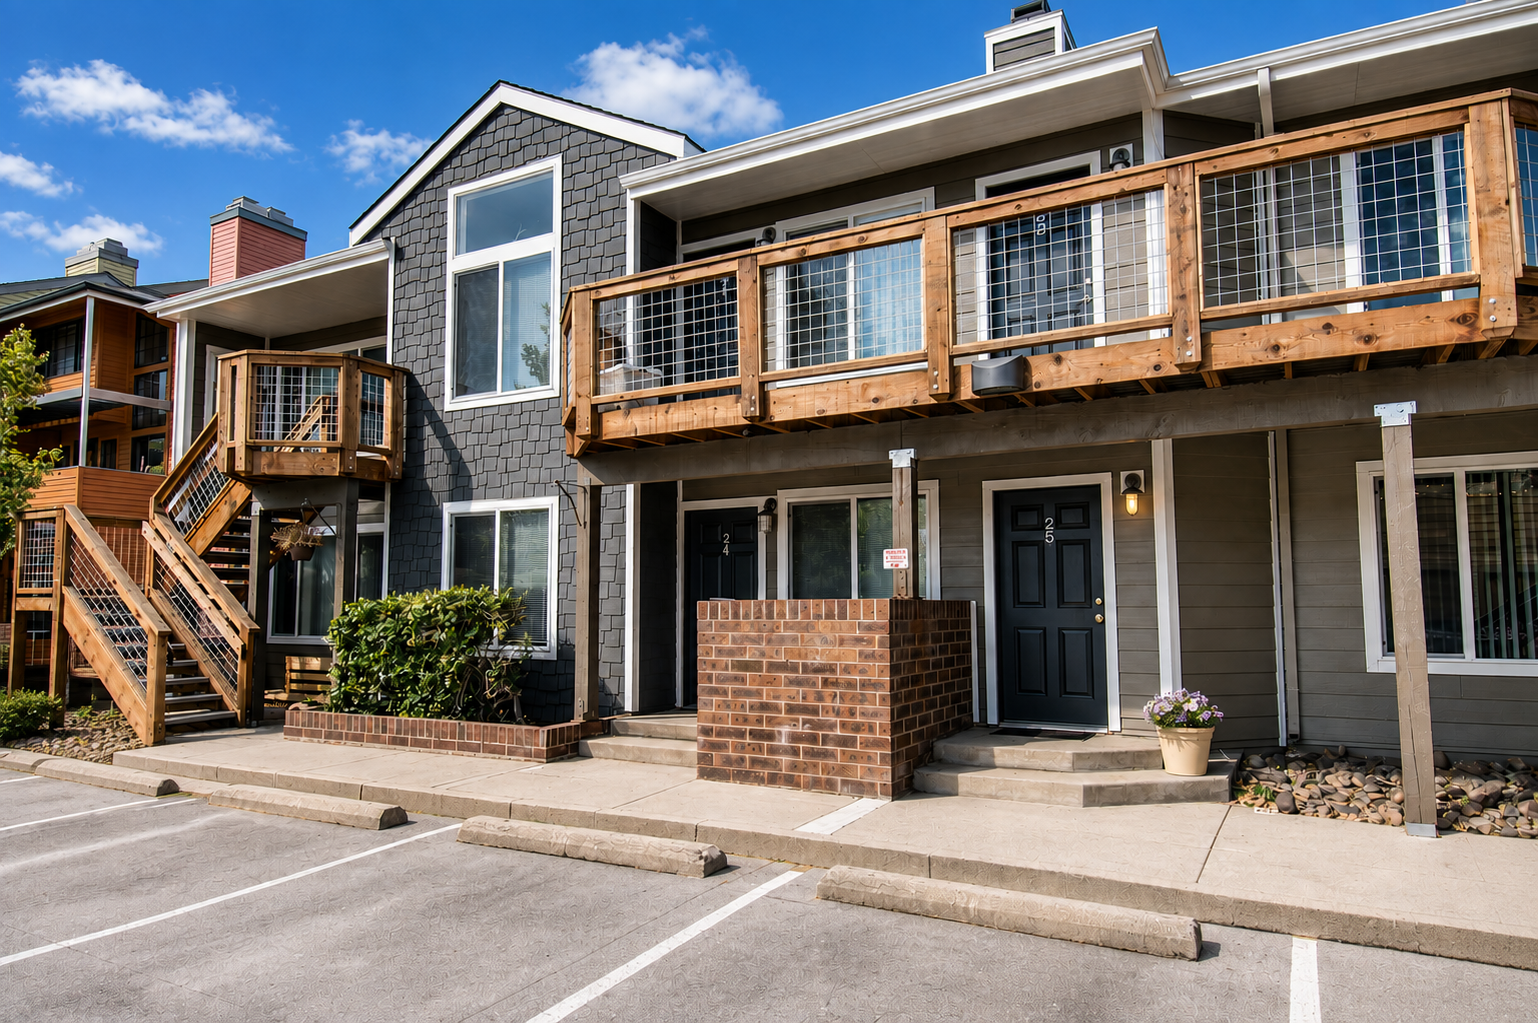
Almost no Greenwood Village home is clad in a single material, and that is the central fact about siding here. A typical elevation runs a masonry or stone base, a horizontal lap field above it, board-and-batten or shingle in the gables, and a different treatment again on the entry mass. Get the combination right and the house looks designed. Get it wrong and it looks like three quotes stapled together.
Three rules that hold up on these houses:
- Change material where the building changes plane or mass — at a gable, at a bump-out, at a story line. A material change in the middle of a flat wall almost always looks arbitrary.
- Terminate the stone properly. The most common tell of a cheap re-clad is stone that stops at an outside corner with a flat cut edge instead of returning around it. Corner returns cost more and they are the detail people read from the driveway.
- Keep the palette to two or three materials. Beyond that, elevations get busy, and every extra transition is another flashing detail that can leak.
| Material | Where it works on these homes | Honest limitation |
|---|---|---|
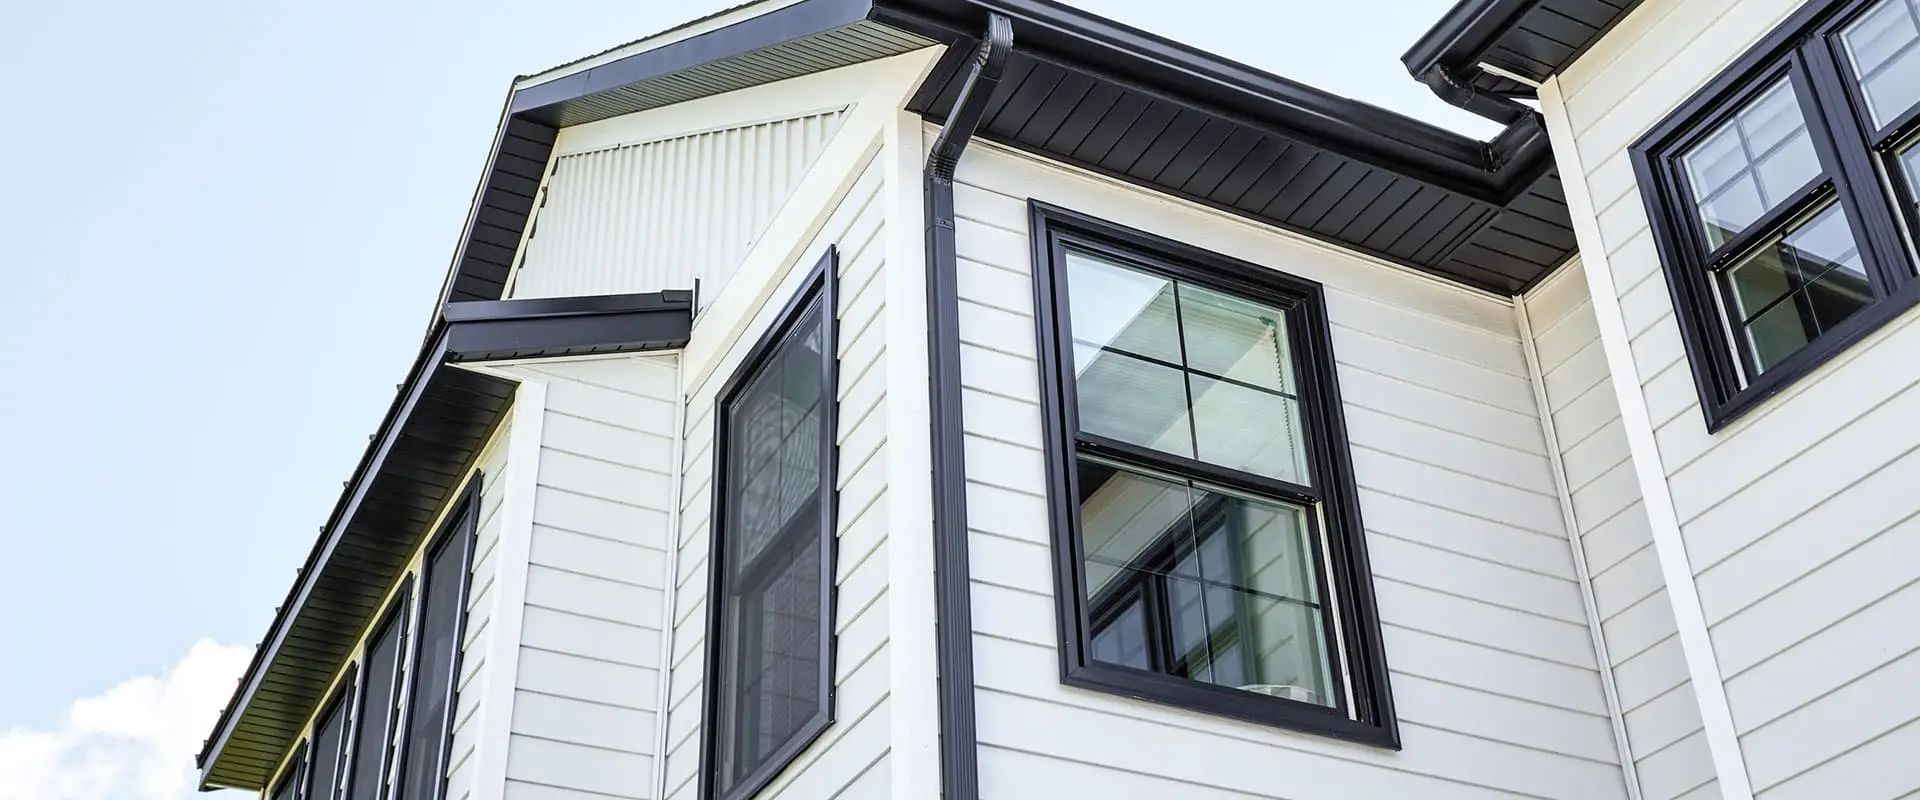
| Fiber cement — see the Hardie page | The default field material: rot-proof, hail-tolerant, factory finishes, wide profile range | Heavier to handle and needs correct clearance detailing at grade and roof lines |
| LP SmartSide | Engineered wood with deep, convincing texture; lighter and easier to work on complex elevations | It is a wood-based product, so clearances, cut-edge sealing and keeping it out of standing water genuinely matter |
| Stone veneer | Bases, columns, chimneys and entry masses — where these homes almost always want weight at the bottom | Needs correct drainage plane and weep detailing behind it; corner returns are what separate good from cheap |
| Metal panel | Accent masses and contemporary elevations; extremely durable and low maintenance | Shows dents from limb impact, which is a live consideration under this much canopy |
| Stucco | Already present on many homes here; can be repaired or re-clad over | Diagnosis matters — see the section below before deciding anything |
Stucco: Repair, Re-Clad, or Leave Alone?
A large share of Greenwood Village homes are stucco, and this is the question we are asked most often about them. The honest answer depends on what the cracking is telling you, so here is how we assess it.
Usually cosmetic, and repairable:
- Fine hairline cracks distributed over a wall — normal curing and thermal movement.
- Diagonal cracks radiating from the corners of windows and doors — the classic stress-concentration crack. Very common, rarely structural on its own.
- Cracks along a control joint or where the stucco meets a different material.
Investigate properly before spending anything:
- Bulging, or areas that sound hollow when tapped — the system has debonded from what is behind it.
- Staining, efflorescence or streaking below windows and at the base of walls — a sign water is getting behind the system and coming back out.
- Cracks that are wide enough to admit water, or that are still opening.
- Soft or damaged sheathing found anywhere the wall has been opened.
The reason this distinction matters financially: re-cladding over stucco that has water behind it traps the problem. Where the assessment points to water intrusion, the right sequence is to remove the stucco, inspect and repair the sheathing and framing, and rebuild the weather barrier before any new cladding goes on. That is a bigger job, and any contractor who quotes a re-clad over failing stucco without opening a wall to look is guessing with your money.
Where the stucco is sound and the issue is genuinely cosmetic, patching and recoating is far cheaper than re-cladding, and we will tell you that even though it is the smaller job.
Reading Your Own Elevations Before You Call Anyone
Greenwood Village carries an unusually heavy mature tree canopy for the Denver metro. Large lots that were planted out in the 1960s and 1970s now have forty- and fifty-foot deciduous trees close to the house, and that produces a very particular pattern of failure here: the street-facing elevation still looks acceptable while a shaded side is well past due. Homeowners consistently underestimate the scope for that reason. Before you get quotes, walk the house and look at these five places, which is roughly the order we inspect in:
- The bottom course, all the way round. Swelling, crumbling or a soft lower edge on hardboard; dark staining or delamination on plywood panel; end-grain rot on cedar. This is where cladding dies first.
- Below every downspout and roof-water discharge point. Concentrated water finds any weakness, and this is where you will see it first.
- Where a roof meets a wall. A missing kick-out flashing dumps an entire roof plane’s runoff behind the cladding. It is one of the most common causes of hidden wall rot on this style of house, and the damage is invisible until it is severe.
- Around and beneath windows. Staining, soft trim or paint failure directly under a sill usually means the head or sill flashing is not doing its job.
- The north and east walls generally. Shade, moisture and, on these lots, overhanging limbs. Also check anywhere landscaping or a raised bed has been built up against the wall — siding needs clearance above grade, and burying it guarantees failure.
If you find several of these, the useful next step is a proper inspection rather than a patch. If you find one isolated spot, say it now — targeted repair is often the honest answer and we are happy to give it.
Choosing a Siding Contractor Here
Some plain advice, applicable whether or not you use us.
- Ask what happens at tear-off if the sheathing is bad. The good answer is: we stop, photograph it, price the repair and get your approval. A quote with no position on this is a quote with a surprise in it.
- Ask whether they are re-siding over the existing cladding. Going over the top hides the damage you are paying to fix and throws off every trim and window return.
- Ask about trim. Leaving wood trim and cladding around it means the component most likely to rot is now the hardest to reach.
- Ask about flashing by name — kick-out flashing where roofs meet walls, head flashing over windows and doors, and how the housewrap laps into them.
- Ask about the HOA submittal. In this city, whoever is not preparing the architectural review package is quietly making it your problem.
- Ask for current insurance certificates. A licensed general contractor carrying liability and workers’ compensation should produce them without hesitation.
We are a licensed Class C general contractor, which is why one contract can cover siding together with roofing and windows — the three trades that all terminate into the same flashings.
Keeping New Siding Looking New Under a Canopy
Modern cladding is low-maintenance, not no-maintenance, and under this much tree cover the difference shows up faster than most manufacturers’ literature implies. Four habits that protect the investment, none of which are onerous:
- Wash the shaded elevations annually. North and east walls collect a green organic film long before the sunny sides look dirty. A soft wash with a garden hose and a mild detergent is all it takes, and it is a great deal easier if it is done every year than if it is left for five. Avoid high-pressure washing — it drives water behind laps and can damage factory finishes.
- Keep landscaping off the wall. Cladding needs clearance above grade, and beds, mulch or soil built up against it will hold moisture at exactly the point the system is least able to cope with. Shrubs planted tight to the house also prevent the wall drying, which is the same problem by another route.
- Watch what the gutters are doing. An overflowing gutter under heavy leaf load is the fastest way to ruin fascia and to get water behind siding. Under this canopy that means clearing them more often than the standard advice suggests, or specifying guards that actually work with fine litter rather than only with large leaves.
- Trim limbs off the wall. Branches resting against cladding abrade the finish, hold moisture against it and give insects a bridge. We will point out which limbs are actually in contact when we walk the property, though we do not do tree work ourselves.
One more, specific to caulk: sealant is the shortest-lived component on the wall. Joints at trim, transitions and penetrations should be looked at every few years and re-sealed before they open. It is a small job that prevents a large one, and it is the single most common item skipped between a good installation and a wall that fails early.
The System Behind the Work
The most important part of a siding job is the part you never see: what the sheathing looked like at tear-off, and how the flashing was built before the cladding covered it.
Two things make that possible, and they are the reason to choose us over a cheaper quote.
First, experience and scope. We have been working on Colorado’s Front Range since 2001, and we hold a Class C general contractor license (Colorado license #C120350) rather than a single-trade license. That is not a technicality: it means roofing, siding, windows, decks and outdoor living can run under one contract, with one project manager accountable for the flashings where those trades meet — which is precisely where multi-contractor projects leak, literally and figuratively. James Hardie recognizes us as an Elite Preferred contractor and a President’s Club winner, their highest contractor distinction. Our rating is 4.9 out of 5 from 552 verified reviews. Alongside that license we hold manufacturer certifications from James Hardie (Elite Preferred since 2011), GAF (Master Elite), Pella, TimberTech and Deckorators, and we have been named a Qualified Remodeler Top 500 contractor three years running — all of it listed, with the issuing body for each, on our awards and credentials page.
Second, a proprietary on-demand client portal we built ourselves. Most of what people hate about a remodel is not the construction. It is not knowing — who to call, whether the permit went in, when material arrives, what has been paid, whether it passed inspection. We built a system to remove exactly that, and as far as we know no other exterior contractor in this market offers it:
Every conversation in one place
Messages, decisions and change requests are logged against your project rather than scattered across texts, voicemails and three different crew members’ phones.
Contracts and scope, always retrievable
Your signed contract and itemized scope live in the portal, so “what did we actually agree to?” is a thing you look up rather than a thing you argue about.
Permit status you can see
Where the permit is in the process, and when inspections are scheduled — without having to phone anyone to find out.
Delivery and install schedules
When material lands and when each trade starts, so you can plan around the work instead of waiting for a truck to appear.
Before, during and final photography
Documented condition before we start, progress images through production, and final photography — including the parts of the building you will never see again once it is closed up.
Payments tracked per trade
What is paid and what is outstanding, broken out by trade rather than as one running balance you have to reconcile yourself.
Inspection records
Each inspection and its result, recorded against the project and available when you sell the house and someone asks.
Access is an individual, custom URL issued to you — and you get it when we start talking, at the lead and project meeting, not after you sign something. That is deliberate: you can see how we run a project before you commit to one. It then stays available after the work is finished, which matters more than it sounds, because the documentation, images and inspection records are exactly what a buyer’s agent, an appraiser or an insurer asks for years later. If you have high expectations of how a project should be run, this is the part of our offer worth judging us on.
Where We Work in Greenwood Village, Colorado
Greenwood Village sits in Arapahoe County in Denver’s south metro, between Cherry Hills Village to the north-west, Englewood to the west, Centennial to the south and Cherry Creek State Park to the east, with I-25 and Arapahoe Road running through it. We cover the whole city for siding installation and repair — the large-lot custom homes west of I‑25, the newer pockets east of Yosemite, and the Denver Tech Center offices in between.
- Cherry Creek Village
- Greenwood Hills
- Sundance Hills
- Orchard Hills
- The Preserve
- Belleview Village
- Denver Tech Center
We also work across the rest of the south metro — Cherry Hills Village, Centennial, Englewood, Littleton, Glendale and the City of Denver.
One thing worth clearing up, because it confuses almost everybody: three separate places here carry a similar name. Cherry Creek Village is a neighborhood inside Greenwood Village. Cherry Hills Village is its own incorporated town next door. And Cherry Creek is a neighborhood of the City of Denver. We serve all three. The reason to know which one you are in is purely practical — each has its own permit authority, so it changes who issues your permit and how long review takes.
We also work next door in Denver and across the south metro in Centennial, Englewood, Littleton, Glendale and Cherry Hills Village.
Nearby Cities We Also Serve
Crews run across the Denver metro rather than out of a single branch, so the towns either side of Greenwood Village are ordinary work for us, not a travel job:
Get a Greenwood Village Siding Estimate
We will walk every elevation — including the shaded ones you cannot see from the street — tell you what is failing and what has life left, and put an itemized written scope in front of you. If a targeted repair is the right answer rather than a full re-clad, that is what we will recommend.
Request Your Free Estimate → 📞 (303) 776-5263
Prefer email? Reach us at office@nlexteriors.com. Ask about financing options when we walk the property.
Greenwood Village Siding FAQs
What siding materials do you install in Greenwood Village?
Fiber cement, LP SmartSide engineered wood, stone veneer, metal panel and stucco repair. On custom homes here the answer is usually a combination rather than one product — a stone or masonry base, a horizontal lap field, and board-and-batten or shingle in the gables. We specify the mix to suit the architecture rather than to suit whatever we stock.
Should I repair my stucco or re-clad the house?
It depends on what the cracking means. Fine hairline cracks and diagonal cracks from window and door corners are usually cosmetic and repairable. Bulging, hollow-sounding areas, efflorescence or staining below windows suggest water behind the system, and re-cladding over that traps the problem. Where the signs point to water intrusion, the stucco has to come off so the sheathing and weather barrier can be repaired first.
Can you side over the top of what is already there?
We do not. Cladding over the existing material conceals the rot and water damage you are paying to solve, prevents proper inspection and repair of the sheathing, and throws off every window return and trim detail. We tear off to the sheathing, photograph what we find, and price any repair for your approval before we carry on.
How do I tell whether my siding actually needs replacing?
Walk the house and look at five places: the bottom course all the way round, below every downspout, where a roof meets a wall, around and beneath windows, and the north and east walls generally. Under this city’s tree canopy the shaded elevations fail years before the street-facing one, so judging by the front of the house consistently underestimates it.
What is kick-out flashing and why does it keep coming up?
It is a small piece of flashing where a roof edge meets a wall, and its job is to divert roof runoff out into the gutter instead of behind the siding. When it is missing — which is common on this style of house — an entire roof plane’s water runs down inside the wall. It is one of the leading causes of hidden wall rot and it stays invisible until the damage is significant.
Is LP SmartSide as good as fiber cement?
They are genuinely different rather than better and worse. LP SmartSide is engineered wood: the texture is deeper and more convincing, and it is lighter and easier to work on complex elevations. Fiber cement is not wood-based at all, so it does not rot or feed insects, which matters on shaded, damp walls. If your elevation needs deep texture, SmartSide is a strong choice provided the clearances and cut-edge sealing are done properly.
Do I have to replace the trim too?
You do not have to, but on almost every job it is the right call. Wood trim is usually the first component to rot, and cladding around it makes the weakest part of the wall the hardest to reach later. Replacing corners and window and door surrounds in a rot-proof trim at the same time is the single change that most reduces future maintenance.
Will you deal with my HOA’s architectural committee?
Yes. We prepare the submittal package — product data, color selections, elevation notes, physical samples and current insurance certificates — and we start it at contract signing. Some Greenwood Village committees meet only monthly, so starting early is usually what decides whether the work happens this season.